Call Routing
Overview
Call Routing allows you to define how incoming and outgoing calls are handled within your PBX system. This includes setting up call flows, assigning phone numbers, and configuring routing rules.
Configuration
Add Call Route:
- Navigate to Call Routing.
- Select Add Call Route.
- Choose the phone number and set the routing destination.
Configure Call Flow:
- Define the sequence of activities for the call route (e.g., ring groups, announcements, voicemail).
Set Routing Rules:
- Configure rules for handling calls based on time of day, caller ID, and other criteria.
Call Diversions
Call diversions can be enabled in a number of ways, the easiest of which is to enable 'Call Forward All' on the inbound route.
Select ‘Call Routing’ from the PBX homepage.

Find the number for which you wish to enable call forwarding and then click 'view/edit'.
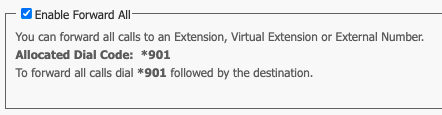
Scroll down until you see the 'Enable Forward All' option. Make sure that it is ticked and note down the 'Allocated Dial Code'.
To Enable Call Forwarding: Dial the allocated dial code, followed by the destination.
To Disable Call Forwarding: Dial the allocated dial code, and after the tone, hang up.
Tip
The Allocated Dial Code is unique for each call route
Emergency Routing and Failover
myCloudPBX Emergency Routing provides automatic routing of a call to an alternate activity in the event that all selected extensions are not online. This feature can provide automatic failover in the event of an on-site issue (such as a power outage or Internet issue).
Note that you may choose between 1 and 3 extensions; however, all selected extensions must be offline for the emergency activity to be used.
This alternate activity can be anything you like, such as a custom voicemail message or even a mobile number.
Configure

Click 'View/Edit' on the number you wish to modify.
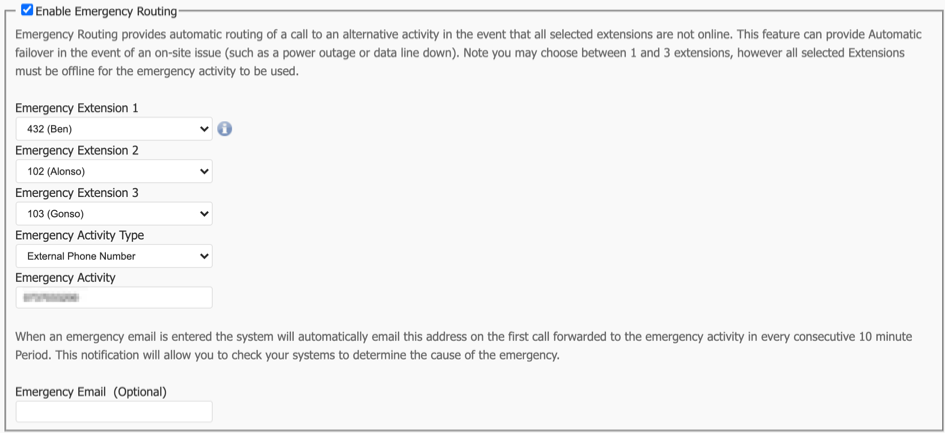
Locate the 'Emergency Routing' section and tick the option on.
Here you will need to select the extensions you wish to 'monitor'. (You should select the main phones that ring for this number).
Next, select the 'Emergency Activity Type'.
This will most likely be either 'Announcement' (for voicemail) or 'External Phone Number'.
Finally, select the 'Emergency Activity'.
Once finished, click 'Save'.

Your changes are now ready to 'Apply' to your PBX.
Click 'Apply Changes'.
Usage
- Use call routing to ensure calls are directed to the appropriate extensions or departments.
- Regularly review and update call routing rules to optimise call handling.
Best Practices
- Document your call routing configurations for future reference.
- Test call routes regularly to ensure they are working as expected.
Related Articles
Holiday Routing
This section provides a guide to configuring Holiday Conditions for your PBX system. This feature allows you to set specific dates on which the office will follow a different set of rules, such as using a holiday IVR. Configuring Holiday Conditions ...Call Recordings
Call recordings can be enabled for inbound calls (per call route), outbound calls (per extensions), or both. Tip Once enabled, calls will be recorded even if they are not answered. Enable Call Recording Application To turn on call recordings for a ...Call Queue Report
Overview The 'Call Queue' reports deliver clear insights into call queue performance, helping optimise customer service. It provides historical data on call volumes, wait times, abandonment rates, and agent activity, empowering managers to improve ...Call Recordings
Call Recordings Overview The 'Call Recordings' page allows you to play or download recorded calls. Calls can be searched by the calling number (origin), or the called number (target). Usage Select the start & end dates. Enter a number to search (if ...Call Queues
Call queues in myCloudPBX are a powerful tool to manage incoming calls efficiently. Below is an overview of the key features, configurations, and functionality available for call queues. Distribution Strategies Choose how calls are distributed to ...