Windows Guides
These guides will demonstrate how to install and operate the MyCloudPBX softphone using a Windows PC. You will need a MyCloudPBX Softphone account to follow this guide. If you do not already have one, you will need to contact your administrator.
Installation
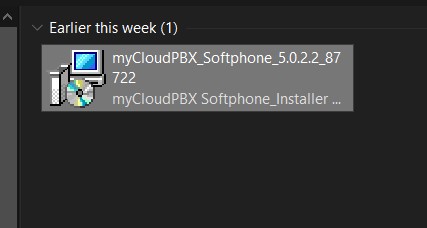
From the Portal under your user settings or in your activation email, click the link 'Get it from Microsoft' to download the install '.exe' file.
Navigate to the file on your Windows PC and double-click to open and begin the installation process.
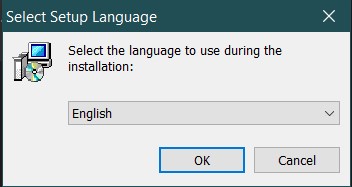
Select your language from the drop-down menu and then click on 'OK'.
Click 'Next'.

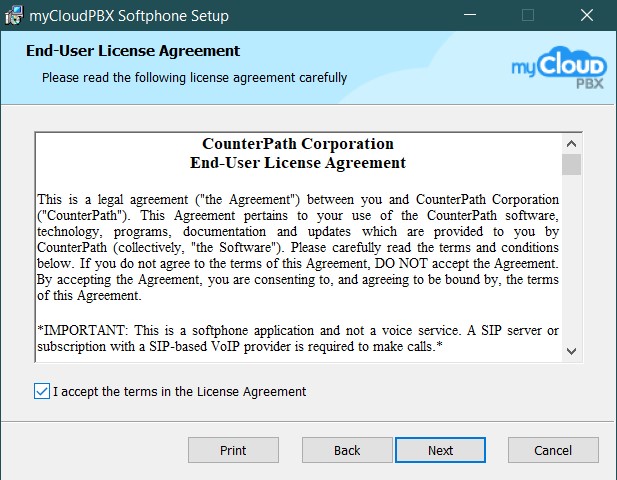
Tick the box for 'I accept the terms in the License Agreement' and then click 'Next'.
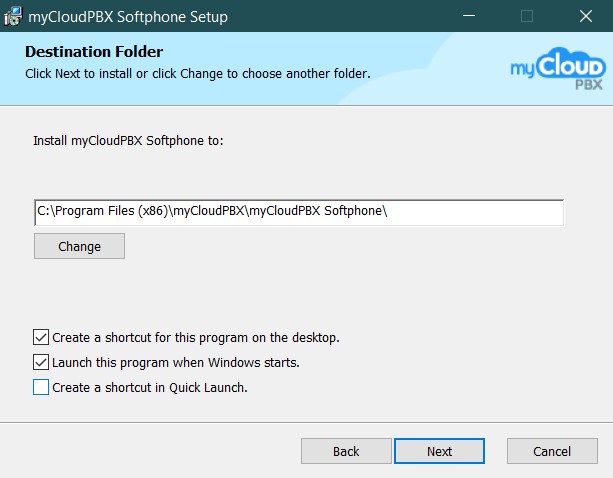
Use the 'Change' button to select your installation location and then click 'Next'.
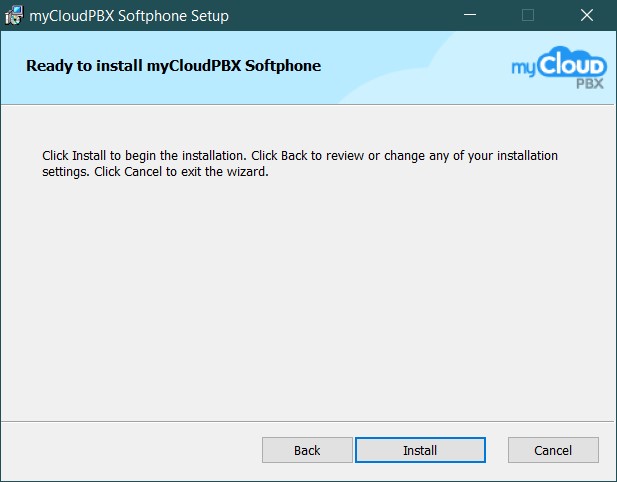
Click 'Install'.
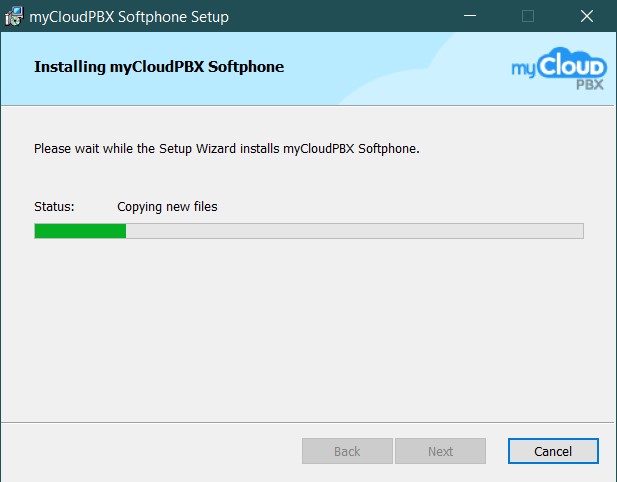
Wait for the installation process to complete.
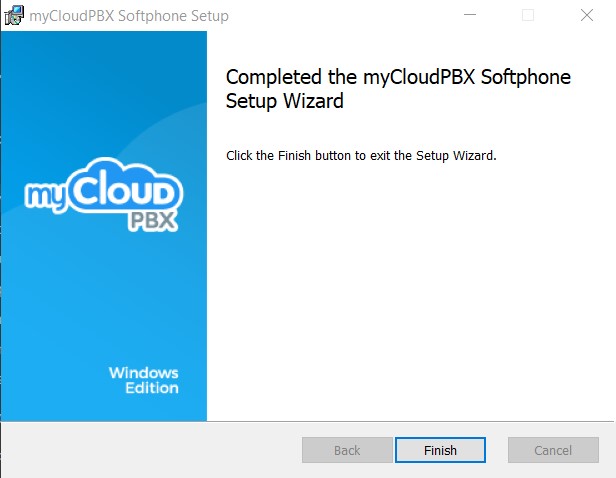
Click 'Finish'.
Open the program from your start menu or by double-clicking the desktop icon.
Enter the following information and click 'Sign In':
- Your Username (You will have received this in the welcome email when you activated the softphone.)
- Your Password (You can find this in the myCloudPBX Management Portal. If you are not sure, contact your Administrator).
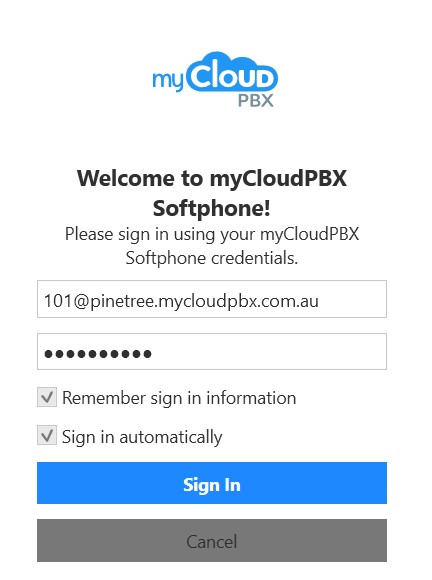
You are now logged in.
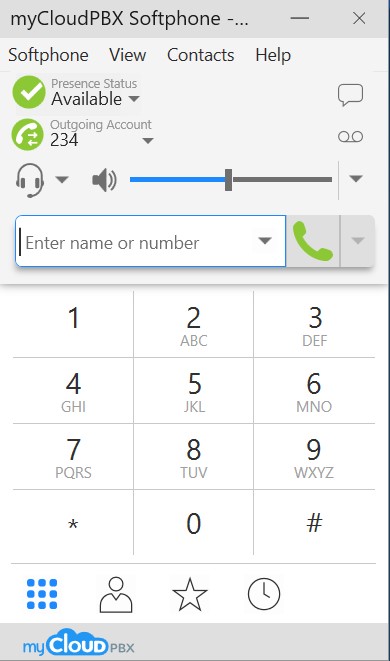
Making a Call
You will need a MyCloudPBX Softphone account to follow this guide. If you do not already have one, you will need to contact your administrator.
- Open the myCloudPBX app and log in using your username and password.
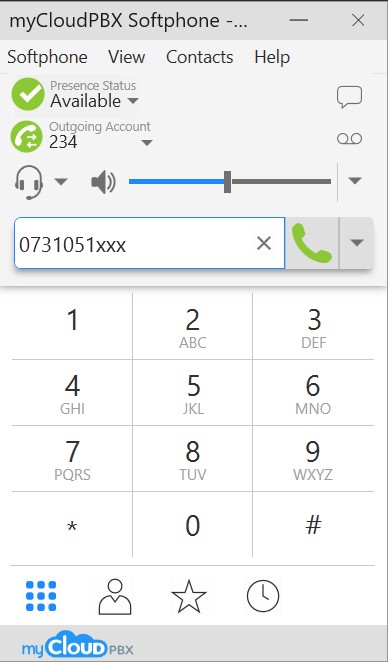
Type the number you wish to call or use the on-screen keyboard and then click
 .
.
Accessing Voicemail
To access Voicemail, press Voicemail or dial 777.
Use the on-screen keyboard to type in your voicemail PIN when prompted.
Managing Contacts
Adding a Contact
From the main screen of the softphone, click 'Contacts' and then from the drop-down menu, 'Add Contact'.
Enter the following information:
For an External Speed Dial:
- The Full National Number of the person you wish to monitor (e.g., 0731051300).
- Select 'Work, Home, or Mobile' from the dropdown.
- Enter a 'Display Name' for your reference.
- Click the 'Add' button.
For an Internal Extension:
- The Extension Number of the person you wish to monitor (e.g., 311).
- Select 'Softphone' from the dropdown.
- Enter a 'Display Name' for your reference.
- Click the 'Add' button.
Click 'OK' once all the data has been entered to finish.
Exporting your Contact List
From the main screen of the softphone, click 'Contacts' and then from the drop-down menu, 'Export Contacts'.
Specify CSV formatting and click 'Next'.
Click 'Browse' and select where you wish to save the file. Click 'Next'.
Once the export is completed, click 'Finish'.
### Importing a Contact List
From the main screen of the softphone, click 'Contacts' and then from the drop-down menu, 'Import Contacts'.
Select 'Comma-separated values (*.csv file)', then click 'Next'.
Click 'Browse' and select the file you wish to import. Click 'Next'.
Make sure to select 'Subscribe to presence as specified by import source'. Click 'Next'.
Once the import is completed, click 'Finish'.
Transferring Calls
Blind Transfer a Call
Description When you 'Blind Transfer' a call, the call will immediately ring on the intended person's phone and will no longer be on yours.
While in-call, click on
 to initiate a transfer. This will place your current call on hold.
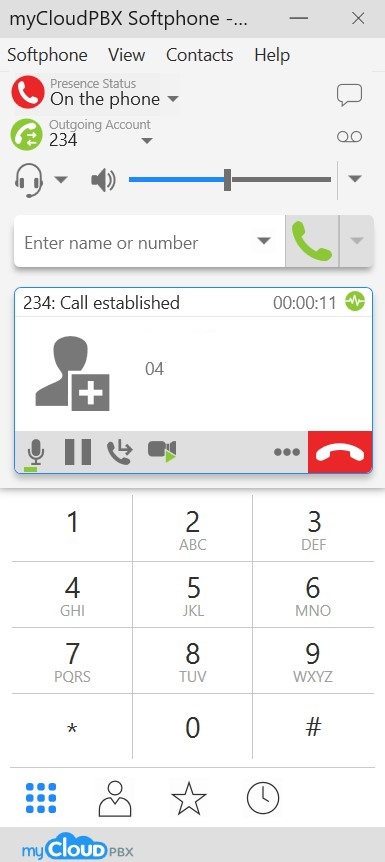
Type the number you wish to transfer to and then click
 .
.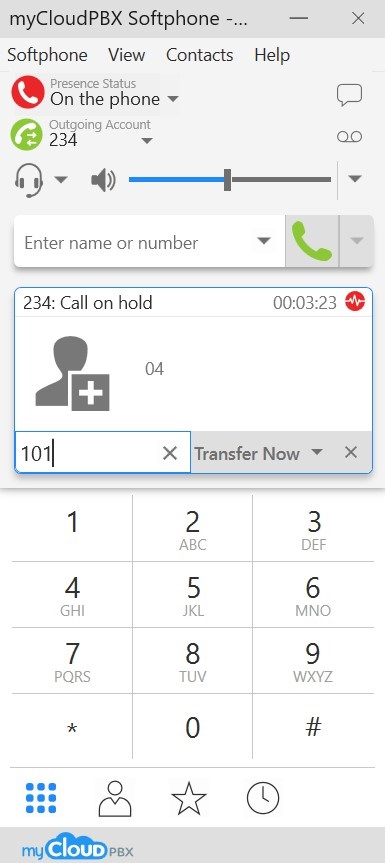
The call has now been transferred to the other person.
Attended Transfer a Call
Description An 'Attended Transfer' allows you to 'introduce' the caller to the callee before handing the call over. This is the preferred method of transferring calls.
While in-call, click on
to initiate a transfer. This will place your current call on hold.Type the number you wish to transfer to and then click
 followed by clicking 'Call First'.
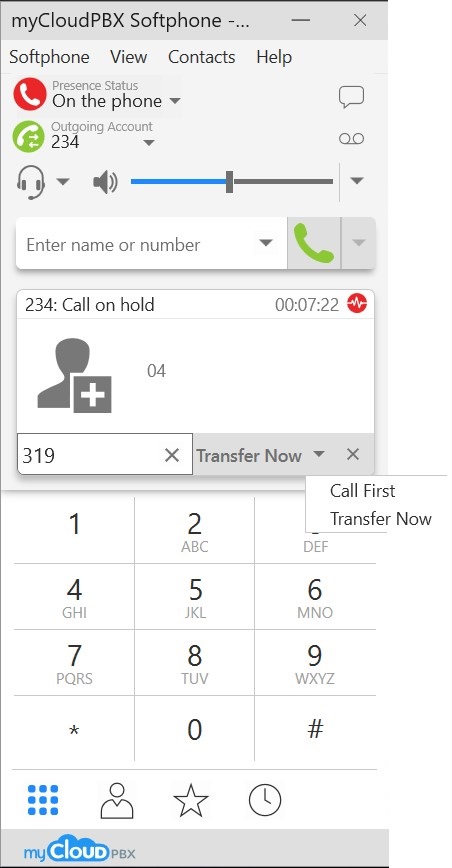
You are now speaking to the callee.
When you are ready to hand the call over, click
.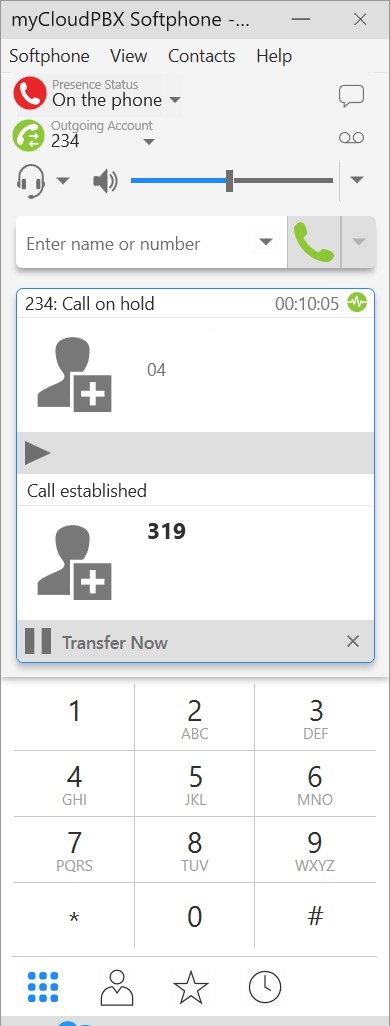
The call has now been transferred to the other person.
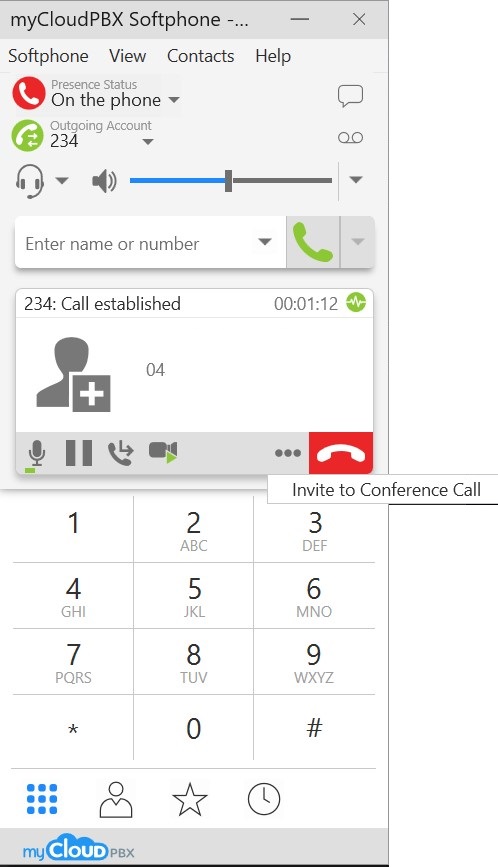
Conference Calls
Description The myCloudPBX Softphone allows you to merge two callers together into a 3-way conference call.
While in-call, click on
 to access additional call options.
Click on 'Invite to Conference Call'.
Type the number of the person you wish to add to the call and then click
 .
.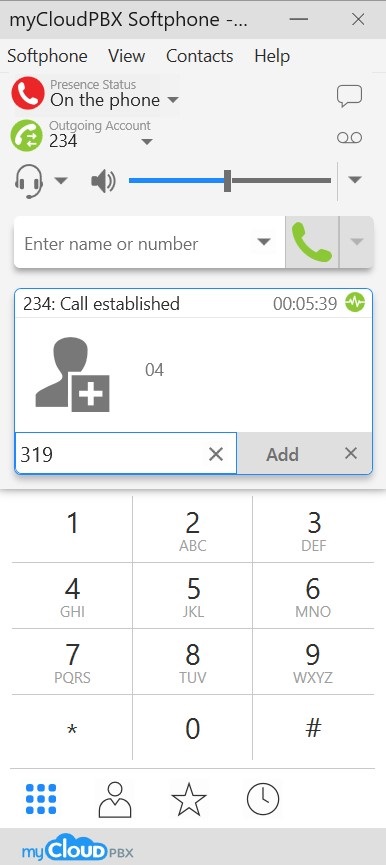
You are now in a conference call. To separate the calls, click on
 , followed by 'Separate'.
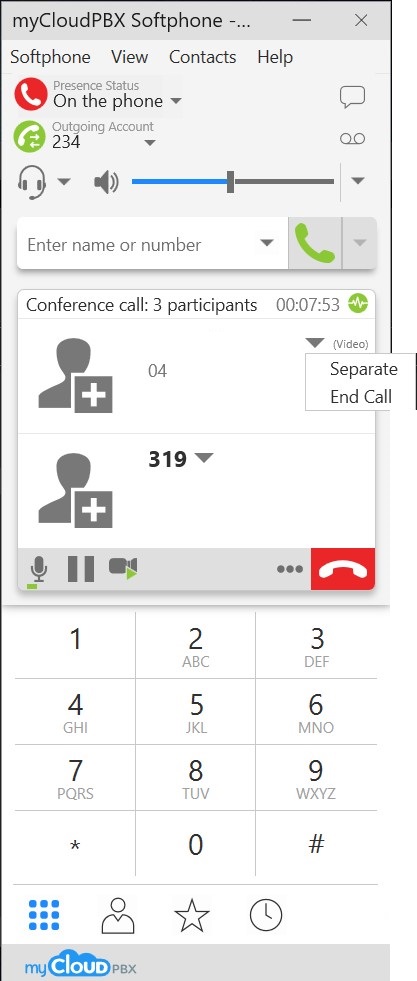
Related Articles
How to Record a Microsoft Teams Meeting Using Xbox Game Bar on Windows
The Xbox Game Bar is a pre-installed feature on Windows PCs designed to enhance the gaming experience, offering screen recording capabilities. While primarily intended for gaming, it can also be used to record any on-screen activity, including ...OSX Guides
These guides will demonstrate how to install and operate the MyCloudPBX Softphone on your OSX device. Installation Download the Installer: From the Portal under your user settings or in your activation email, click the 'Download from Mac App Store' ...Enable Device Encryption on Windows
Protect Your Data with Device Encryption Protecting the data stored on your device is an important part of maintaining security. Windows provides built-in encryption tools, including Device Encryption and BitLocker, to help keep your files and ...Fix Bluetooth Connectivity Issues on Windows
Restore Stable Bluetooth Connections on Your Windows PC Bluetooth issues can prevent devices from pairing, cause frequent disconnections, or stop features such as audio streaming, file transfers, keyboards, mice, and printers from working properly. ...How to Fix Windows High Uptime After Shutting Down
If your Windows computer continues to show a high uptime even though you shut it down every day, it may not be completing a full shutdown. Features like Fast Startup can preserve part of the system state to speed up startup, causing the uptime ...