Android
These guides will demonstrate how to install and operate the MyCloudPBX softphone using an Android phone. You will need a MyCloudPBX Softphone account to follow this guide. If you do not already have one, you will need to contact your administrator.
Installation
- Install the App
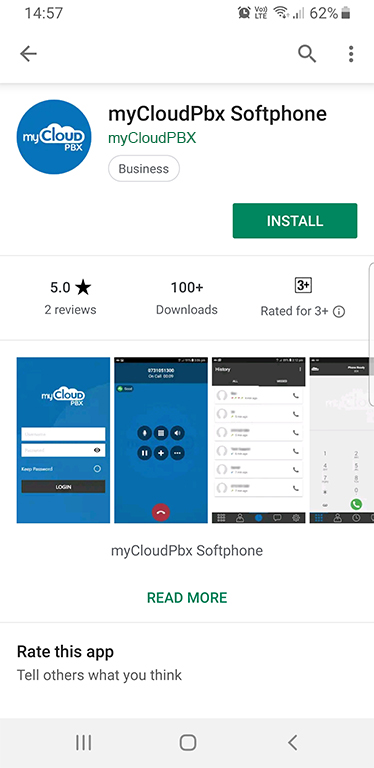
From the Play Store, search ‘myCloudPBX’ and install the app.
Accept Permissions
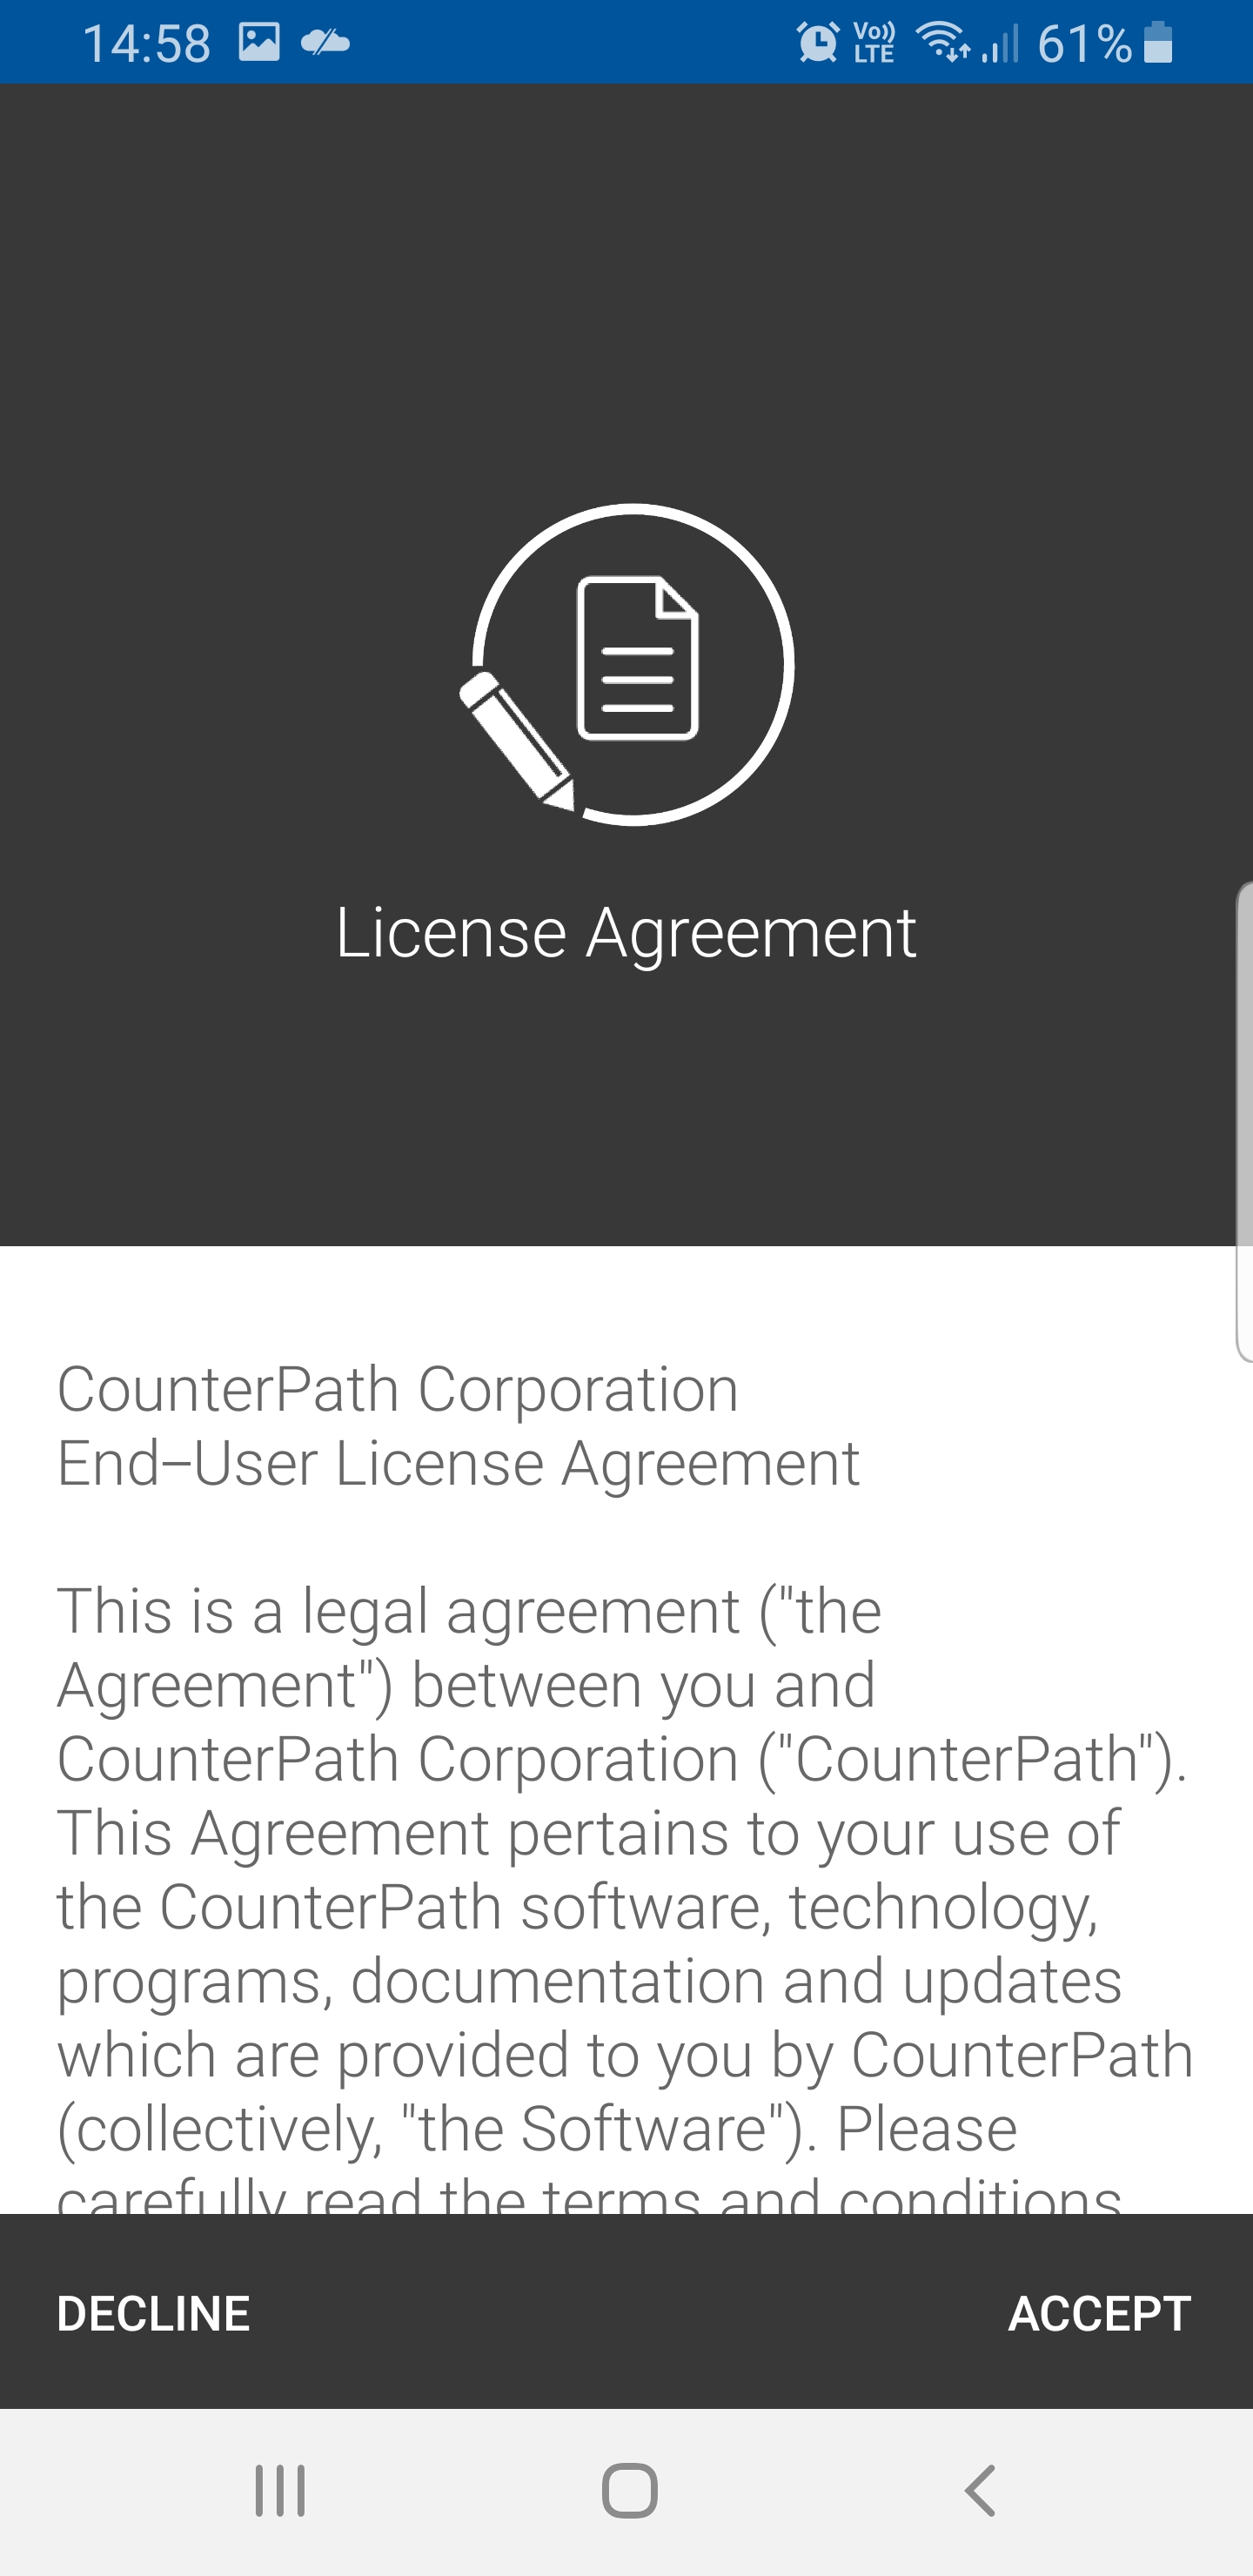
The first time you run the application, you will have to accept some permissions. Start by accepting the License Agreement.
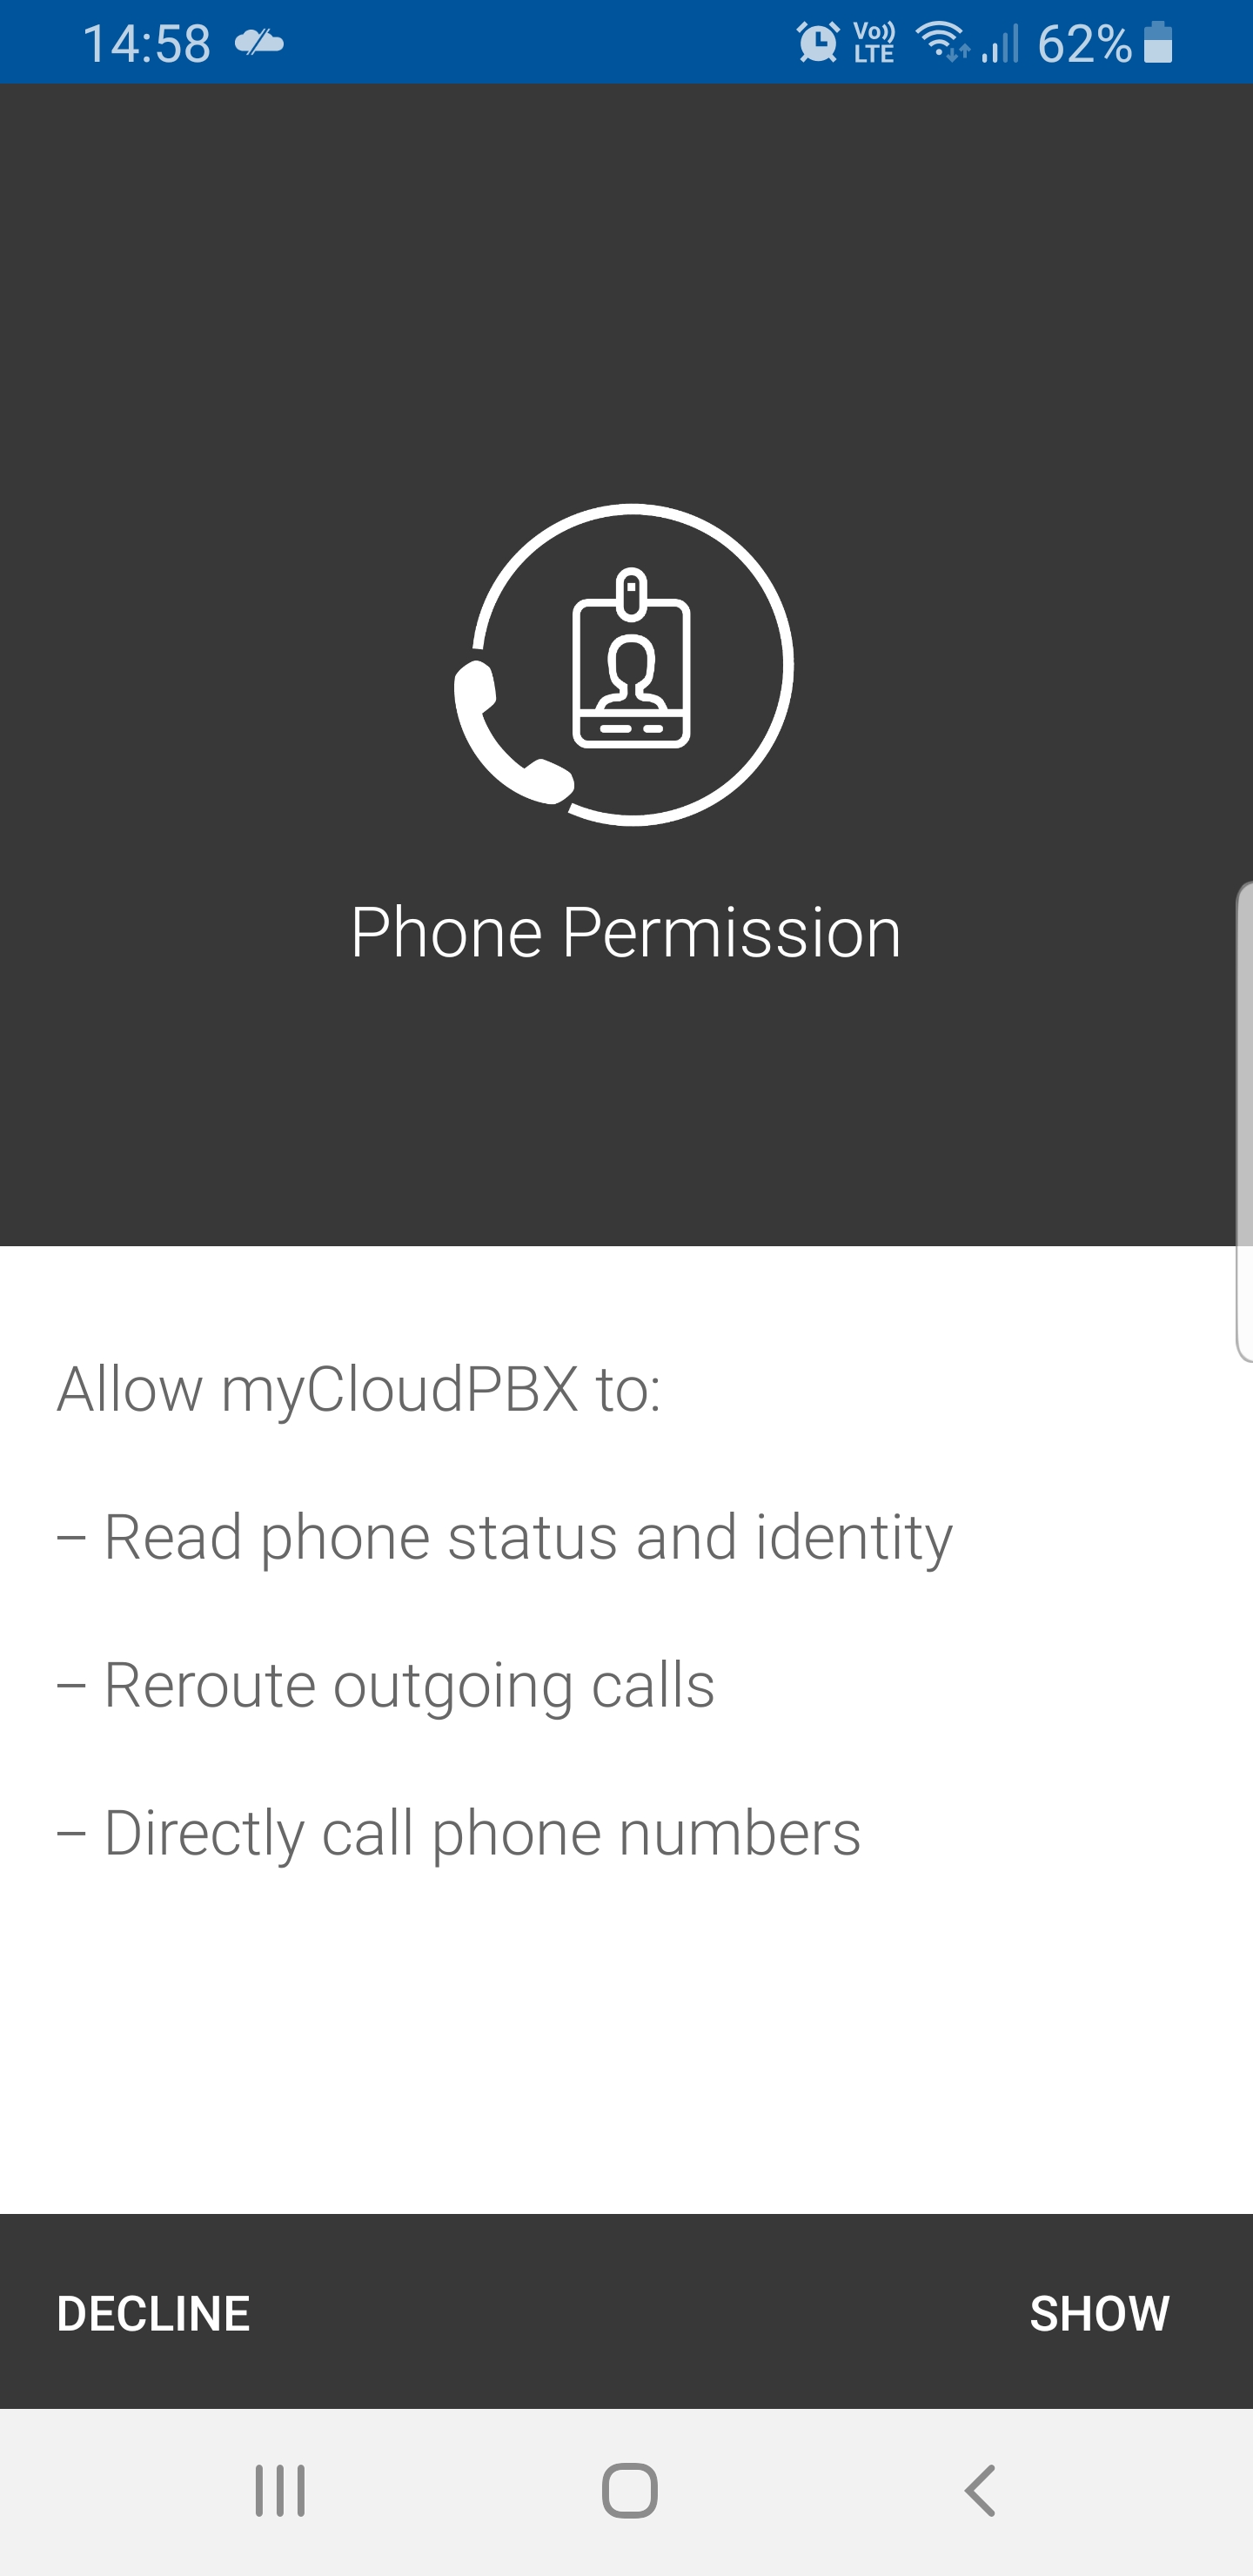
Allow Phone Status and Identity Access
Tap Show to allow myCloudPBX to read phone status and identity, reroute outgoing calls, and directly call phone numbers.
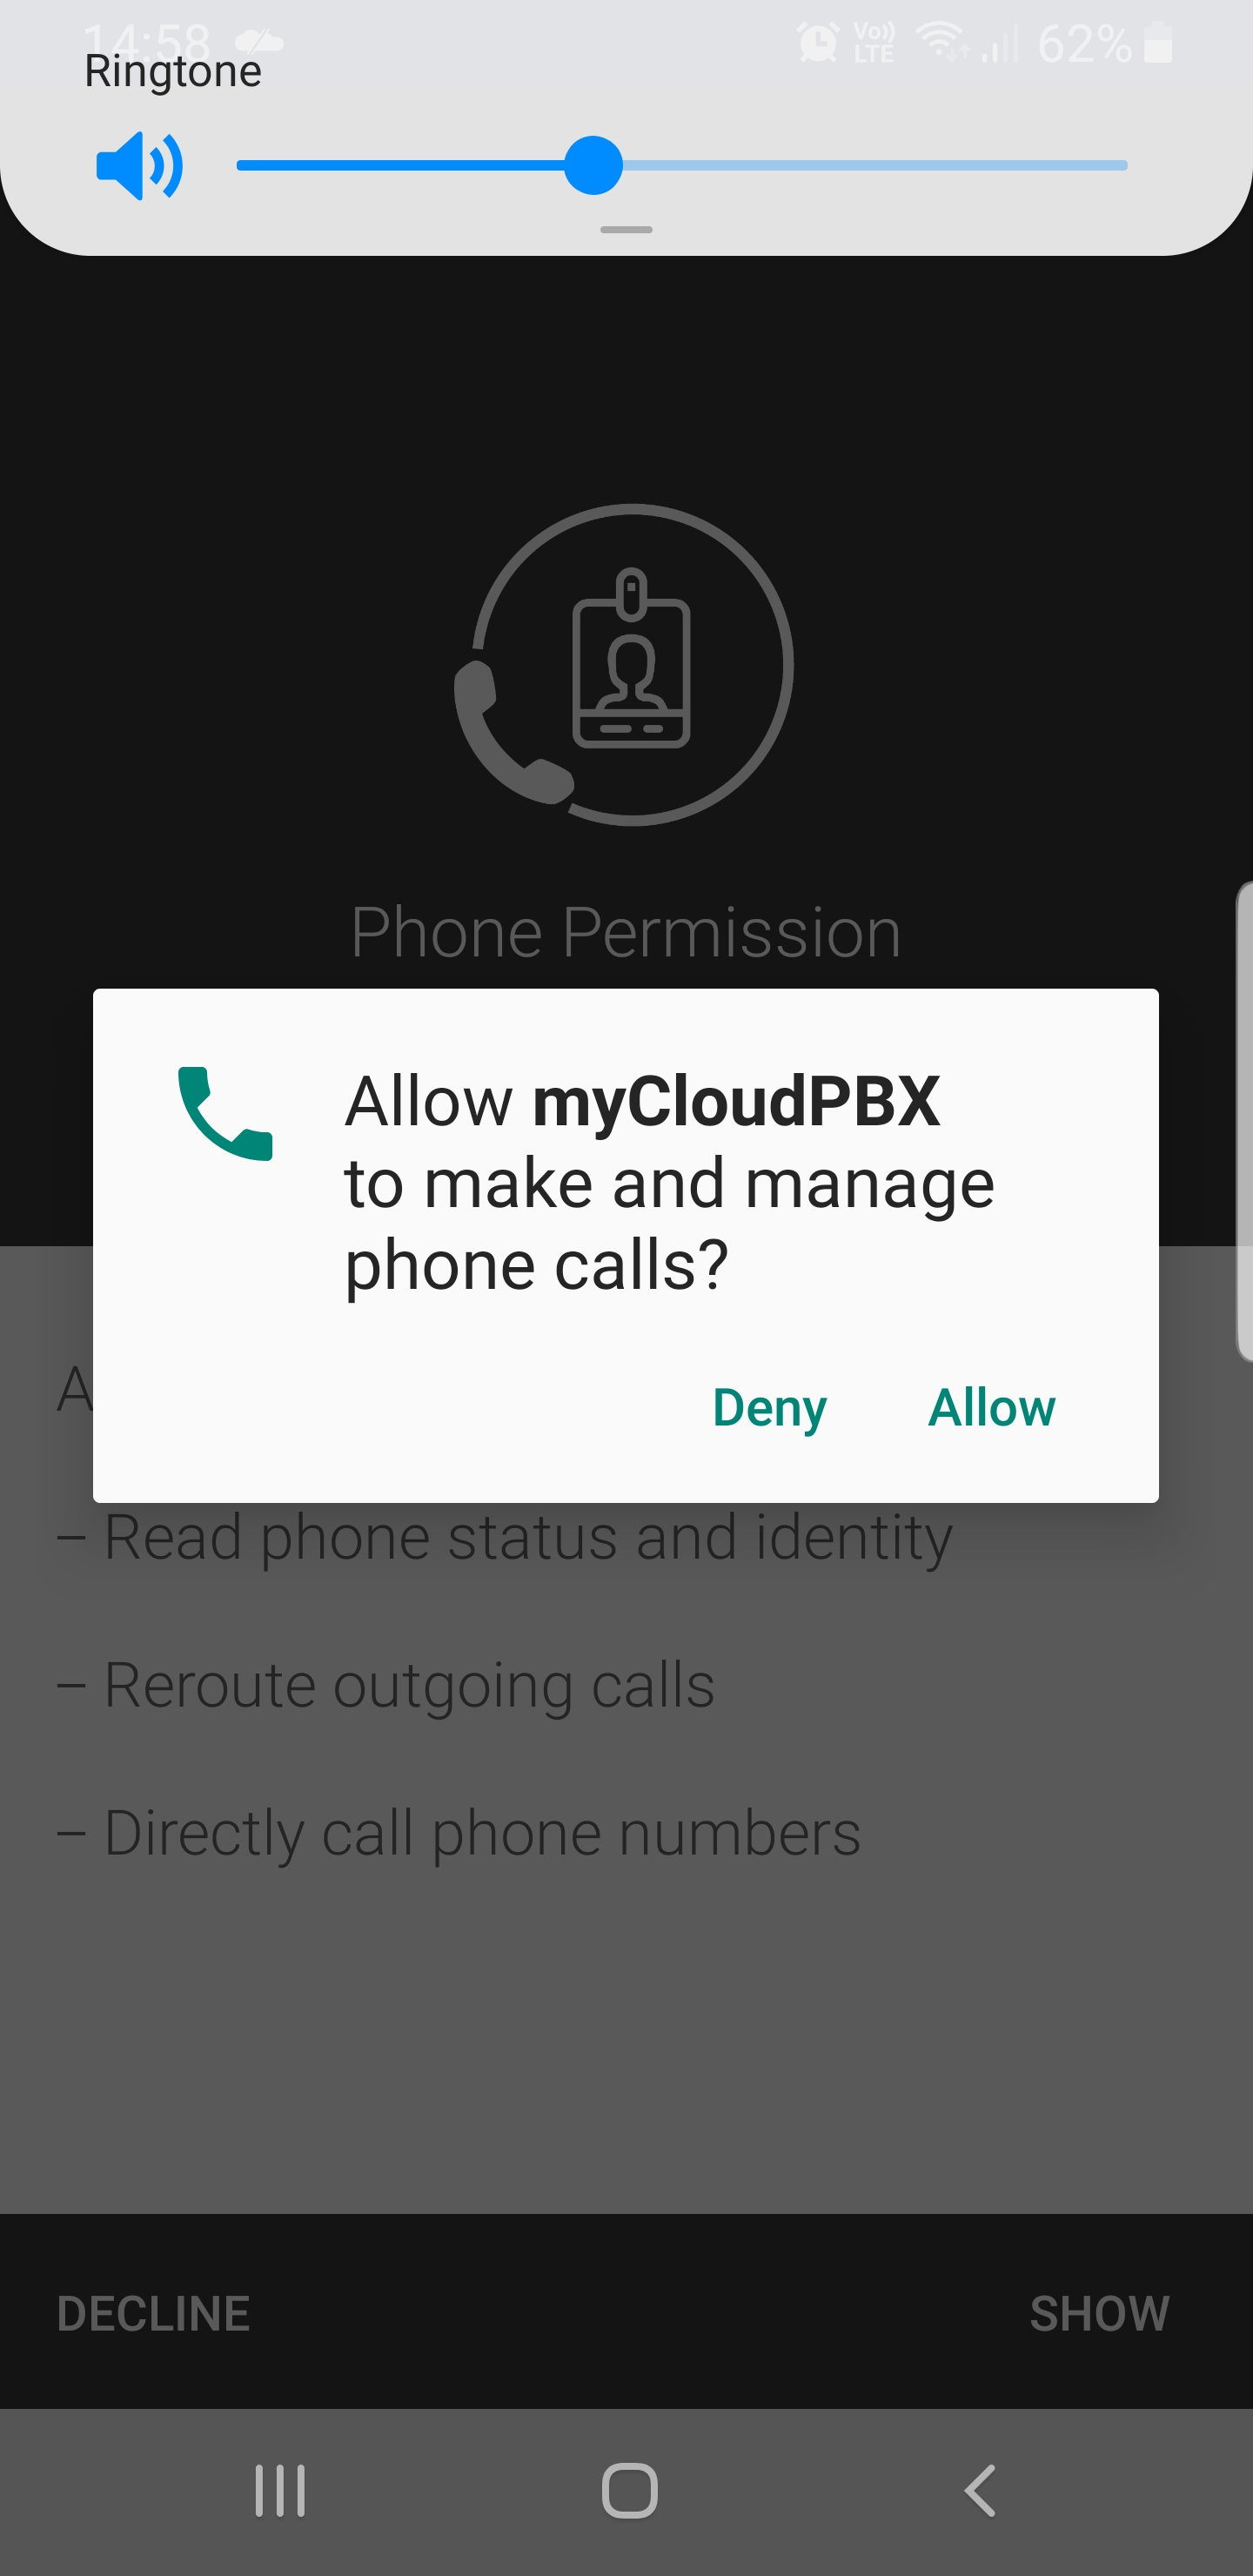
Enable Call Management
Tap ‘Allow’ to enable myCloudPBX to make and manage phone calls.
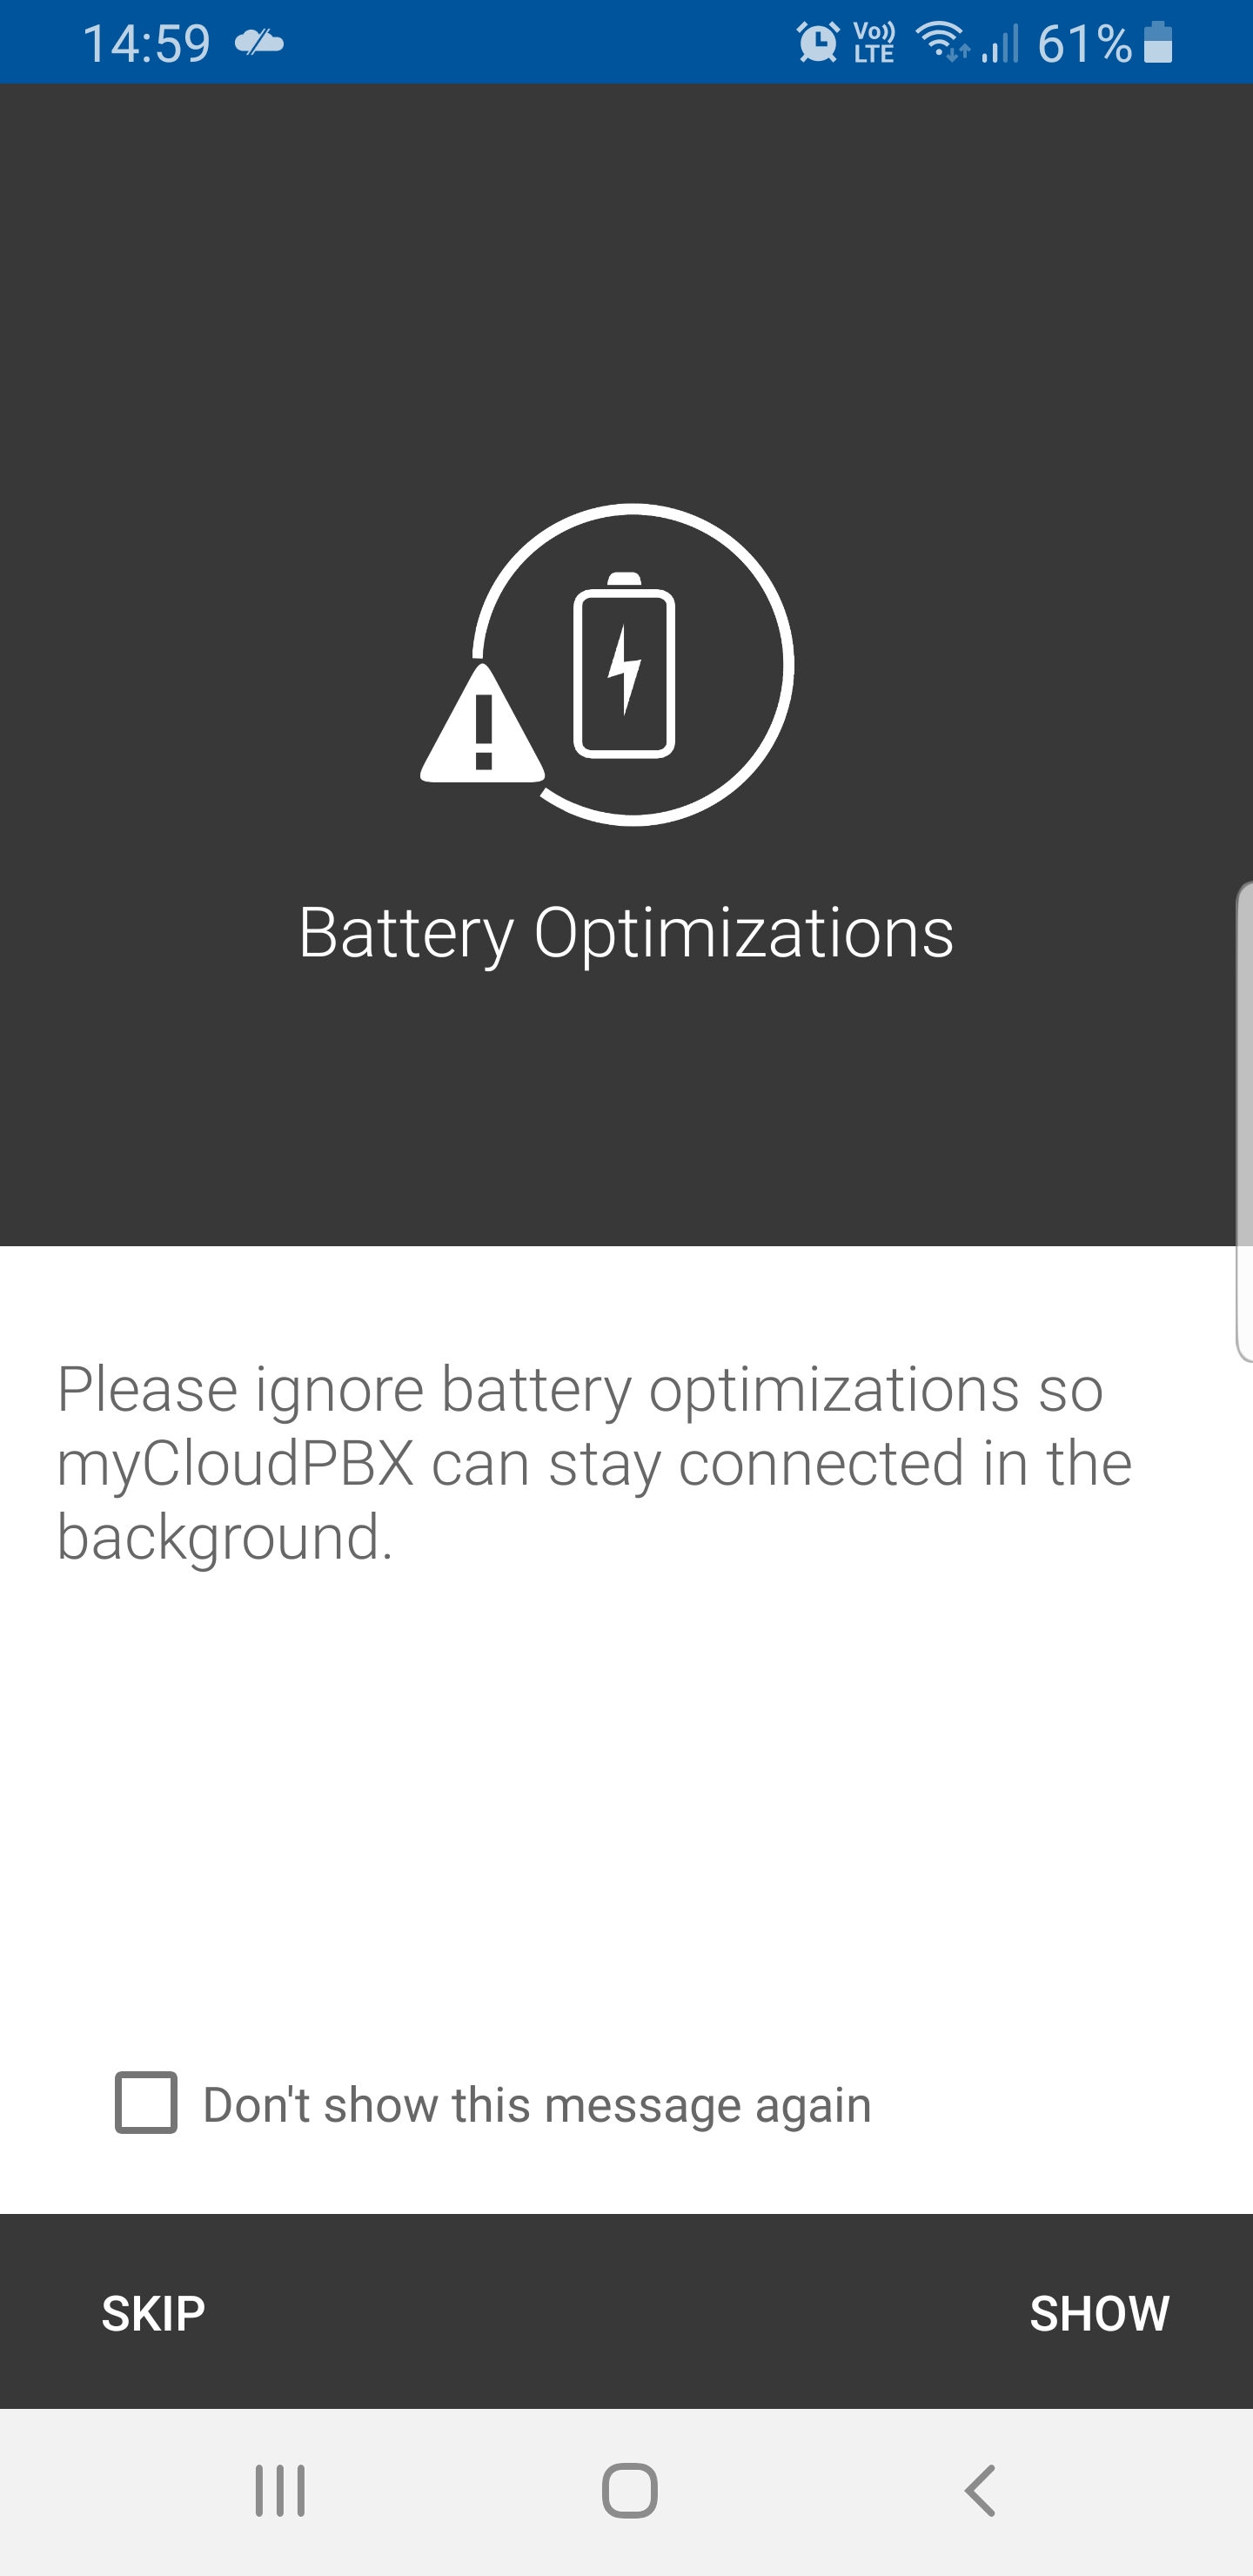
Allow Battery Saving Exemption
Next, it will request permission to be exempt from battery-saving rules. This will allow the app to run in the background and receive calls even when on battery saver. Click "SHOW" and then 'Accept' to proceed.
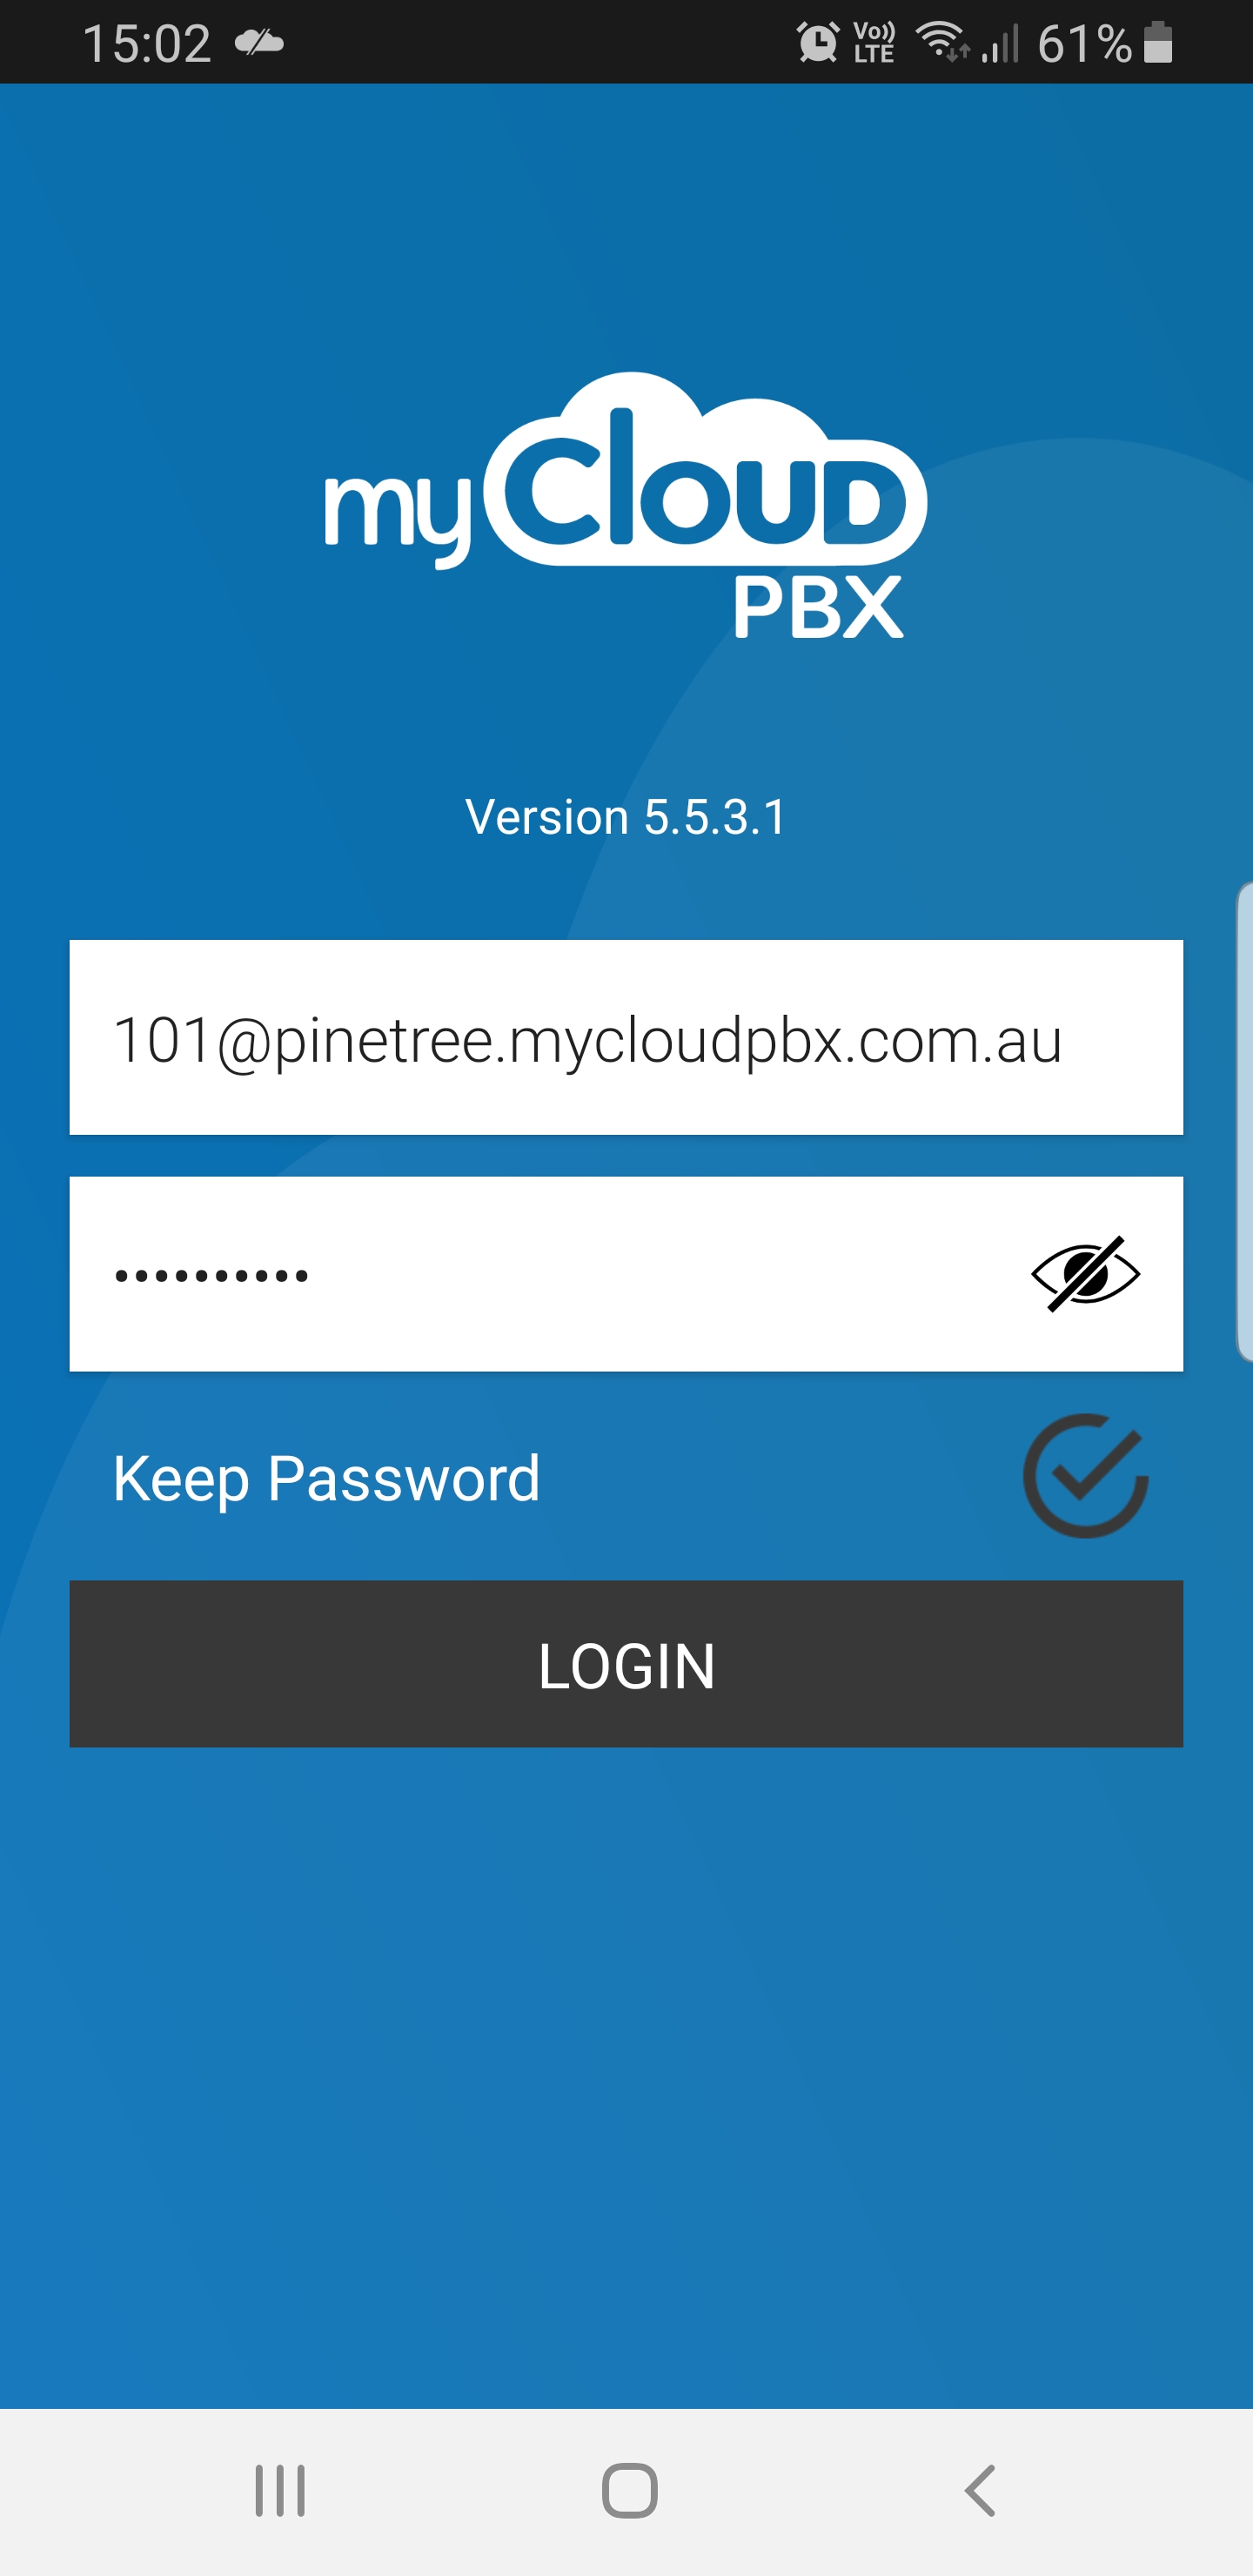
Log In
Enter your username and password.
Complete Login
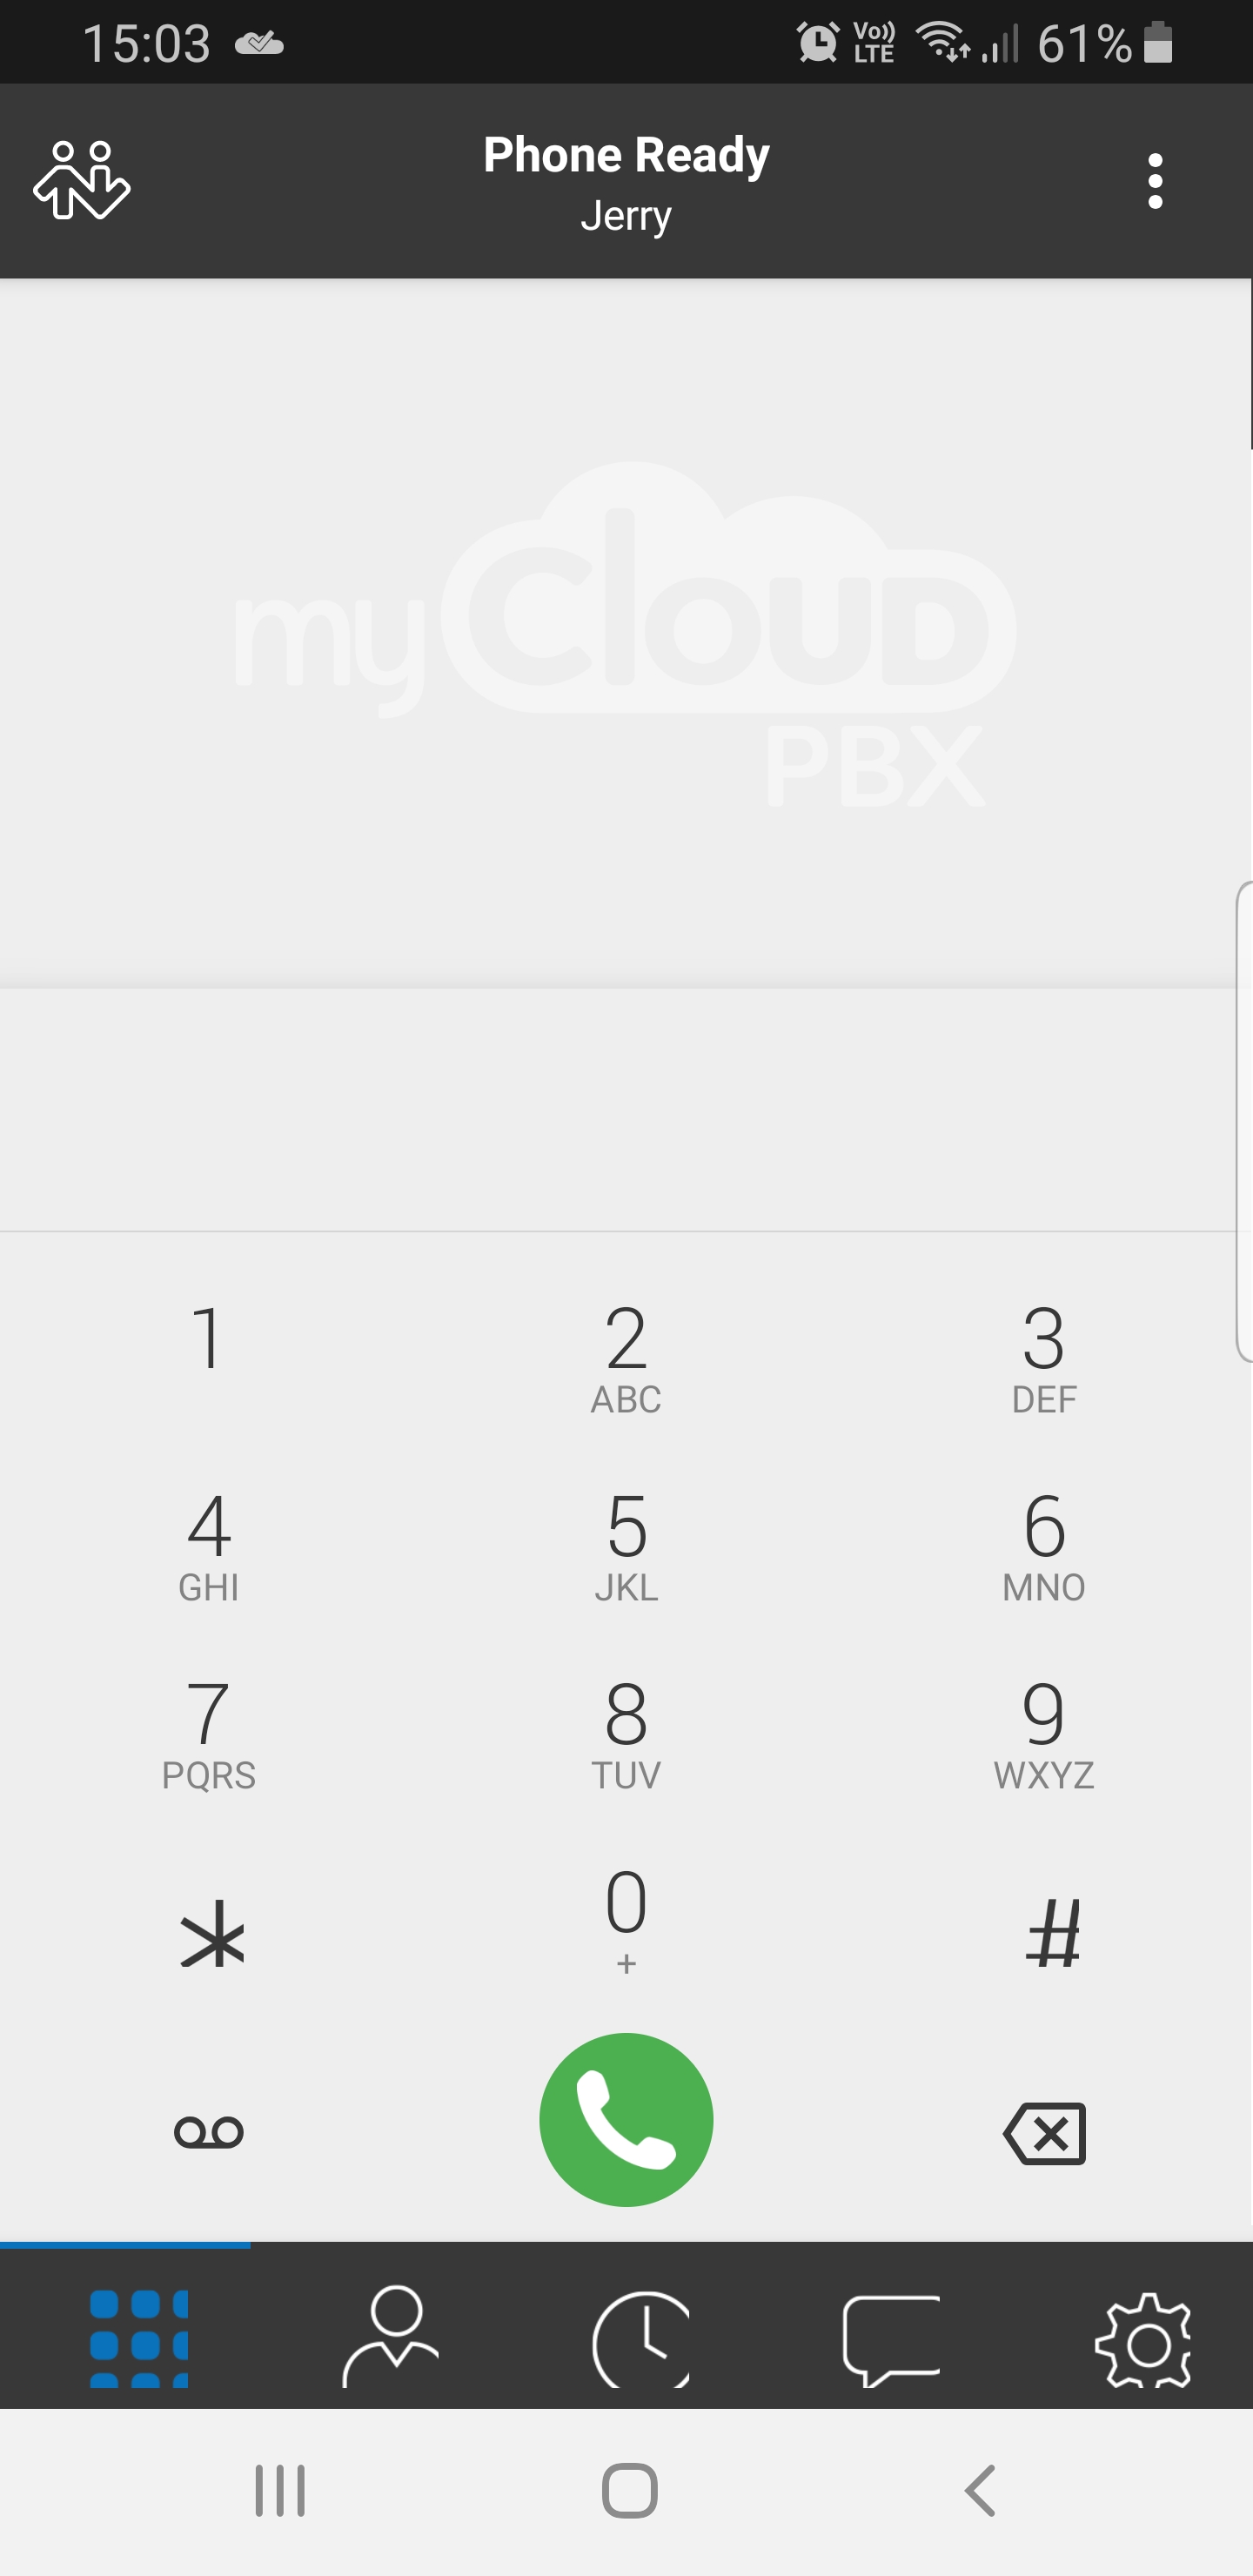
You are now logged in.
Making a Call
- Log In
Open the myCloudPBX app and log in using your username and password.
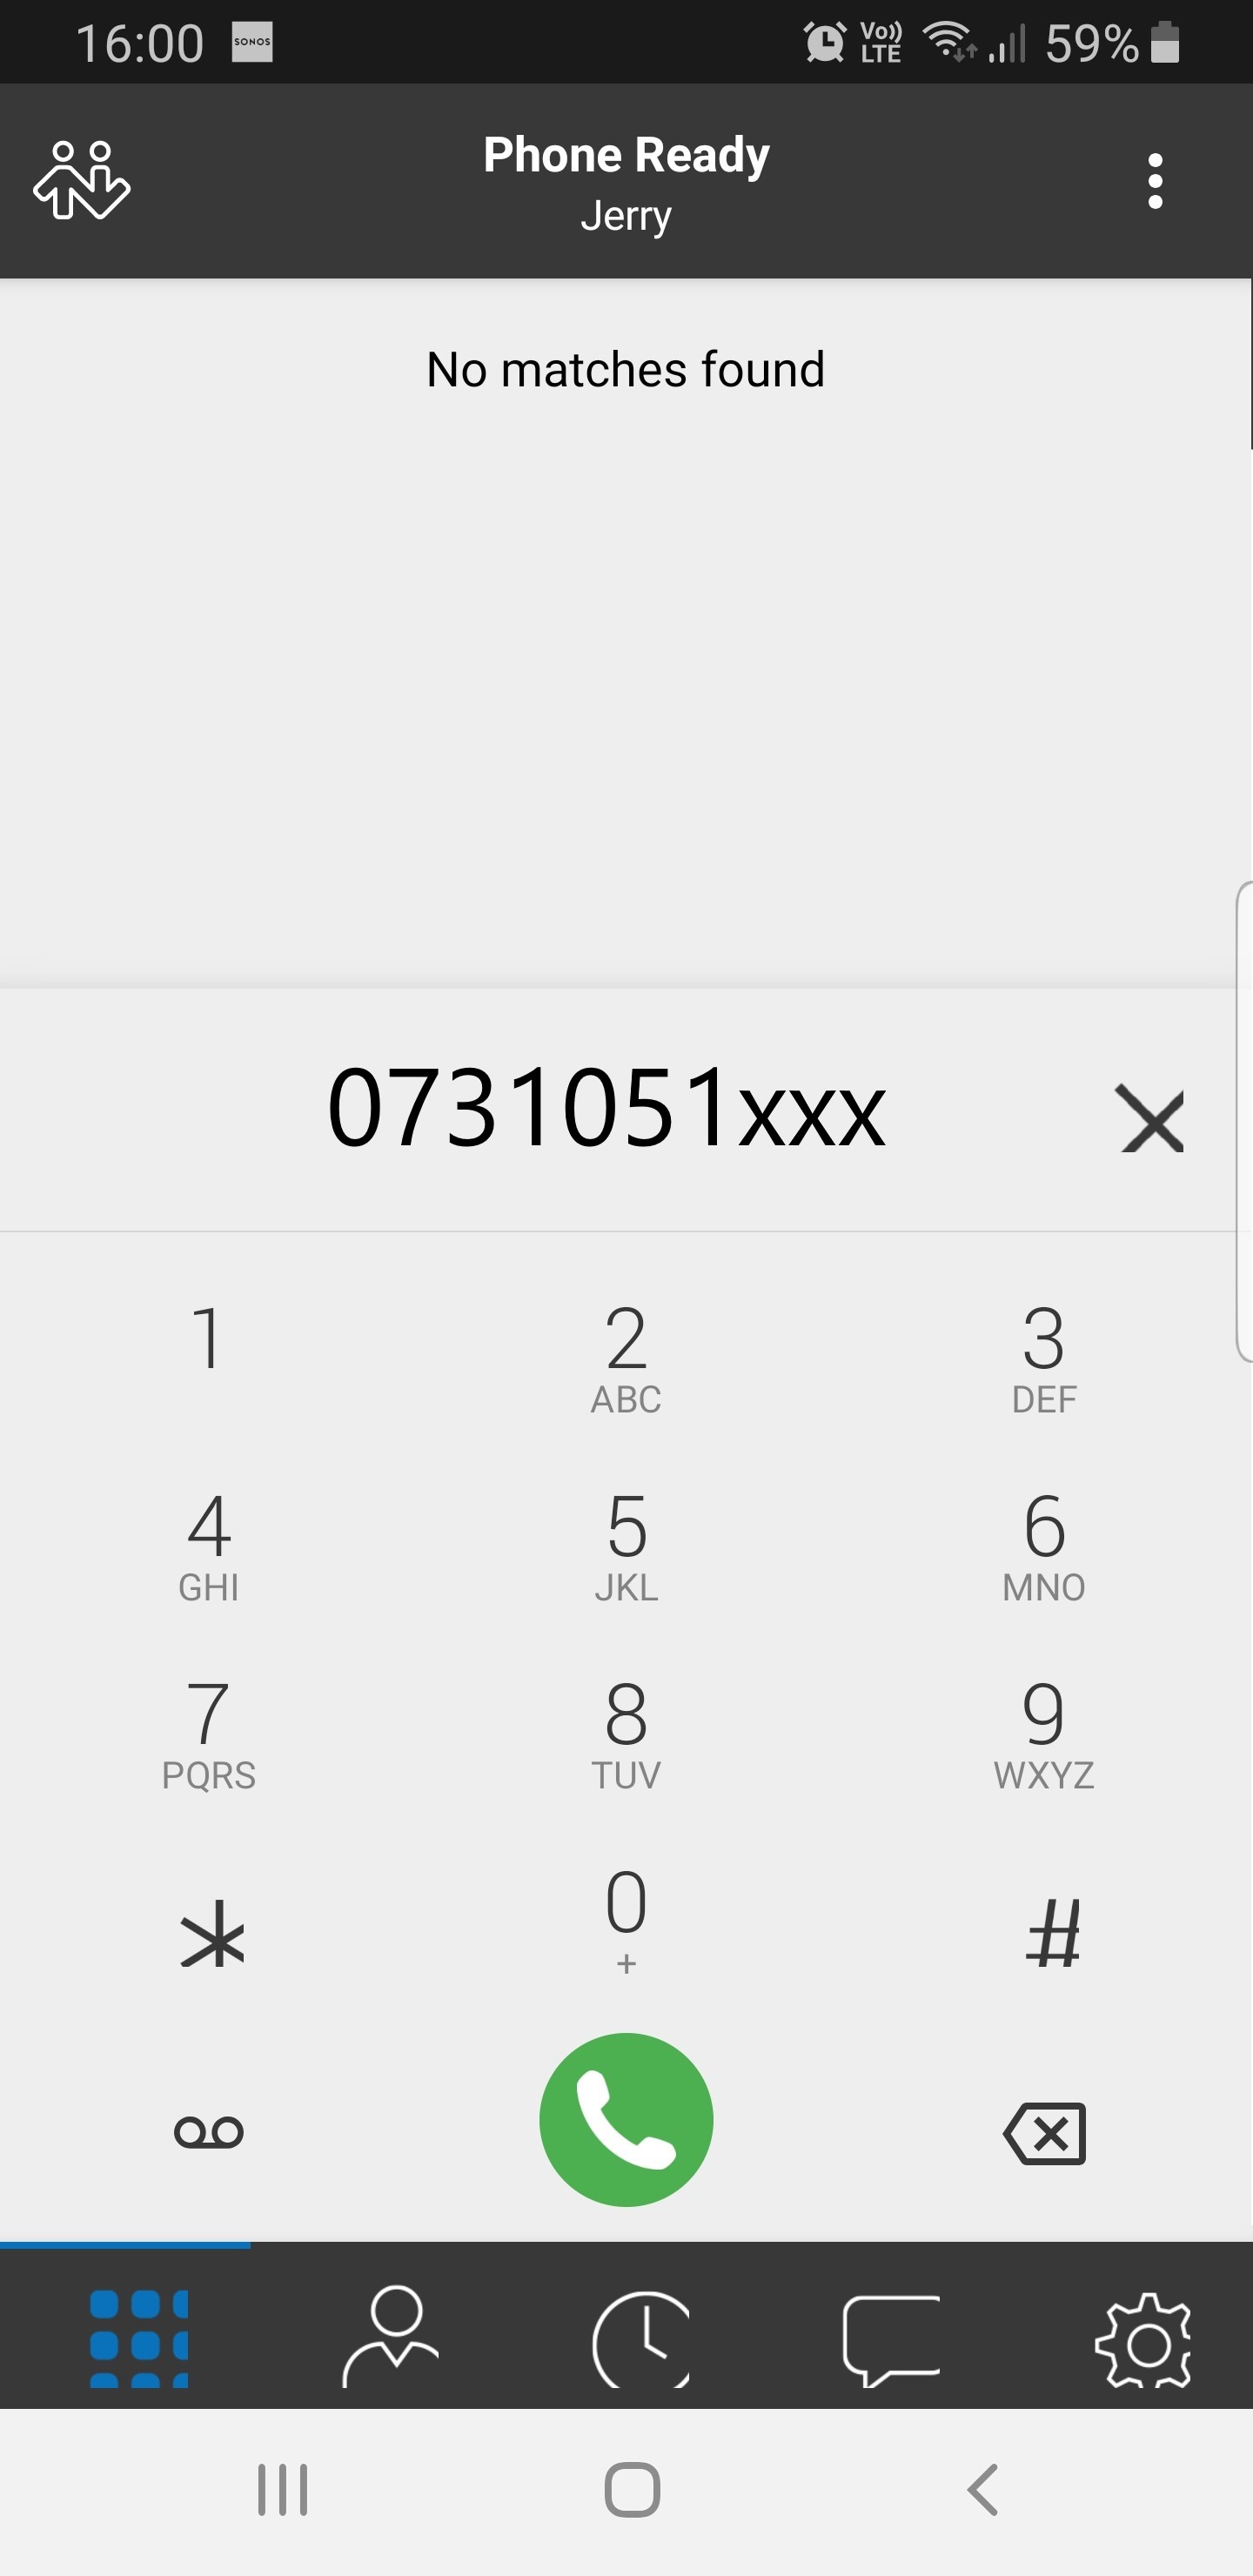
Dial a Number
Using the touchscreen, enter the number you wish to dial and then press the green ‘dial’ button.
Accessing Voicemail
- Access Voicemail
To access Voicemail, press
 or dial 777.
Enter PIN
- Press the 'Keypad Icon' to access the keypad, then enter your PIN when prompted.
Transferring Calls
Blind Transfer a Call
- Initiate Transfer
- When you 'Blind Transfer' a call, the call will immediately ring on the intended person's phone and will no longer be on yours.
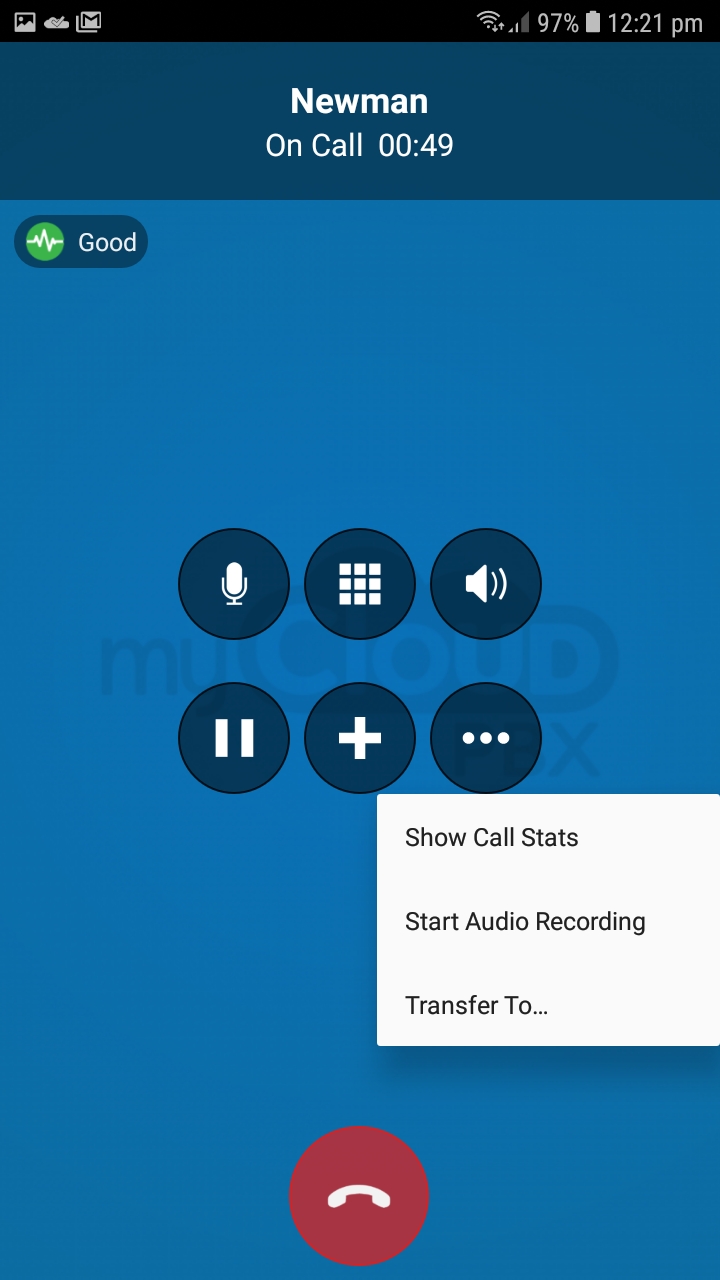
While on the active phone call, press
 and then press the 'Transfer To...' option as shown below.
Select Contact
Use your address book or enter the number you wish to transfer to and press
 .
.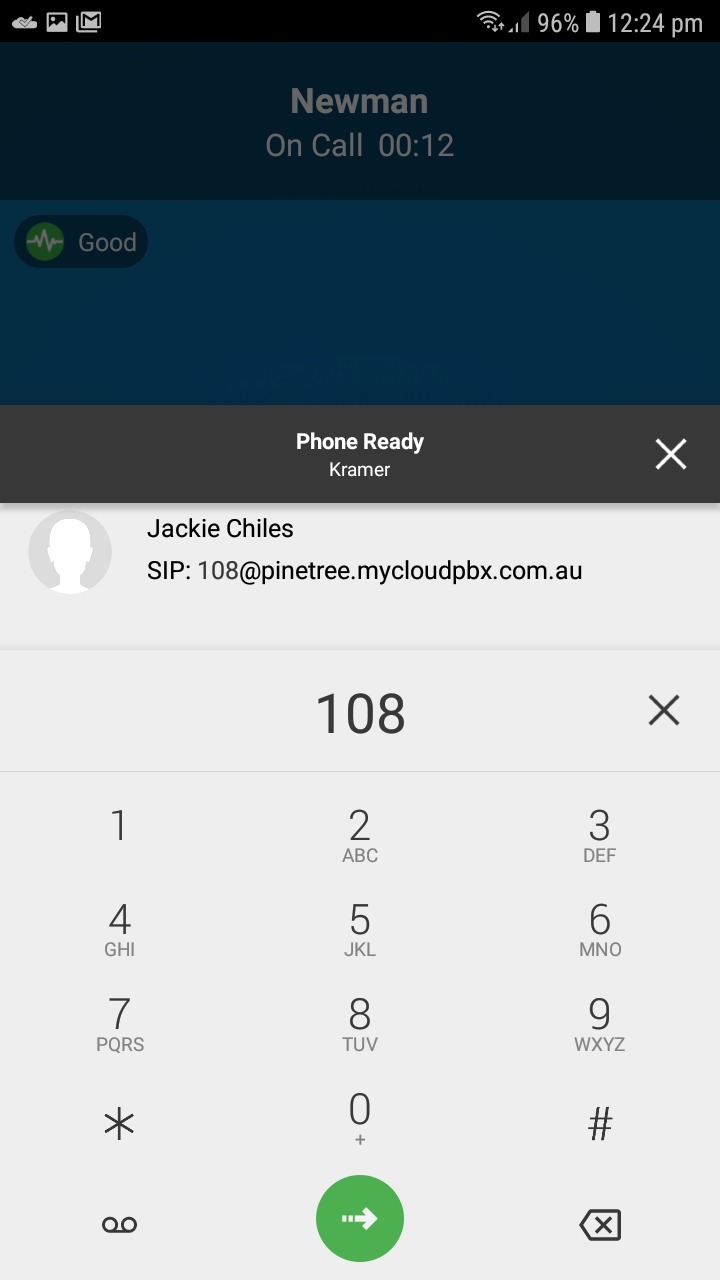
The call has now been blind transferred to the other person.
Attended Transfer a Call
- Initiate Transfer
- An 'Attended Transfer' allows you to 'introduce' the caller to the callee before handing the call over. This is the preferred method of transferring calls.
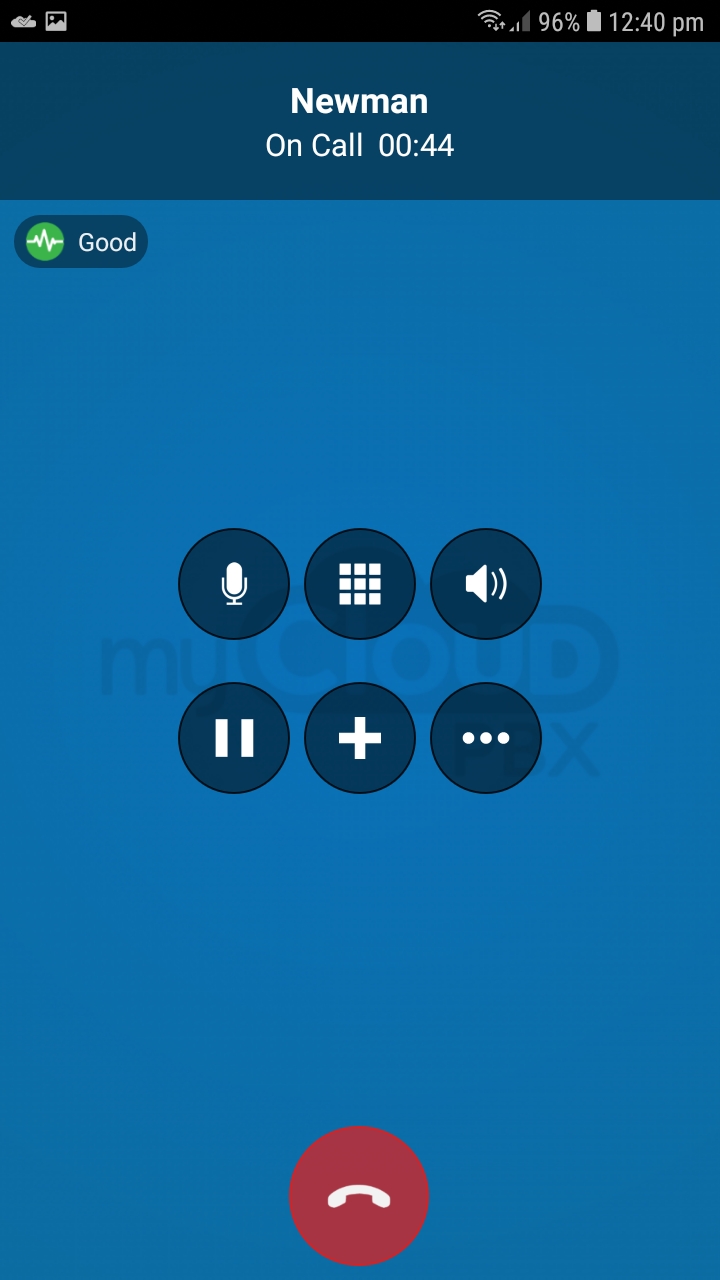
While on an active call, press
 .
.
Select Contact
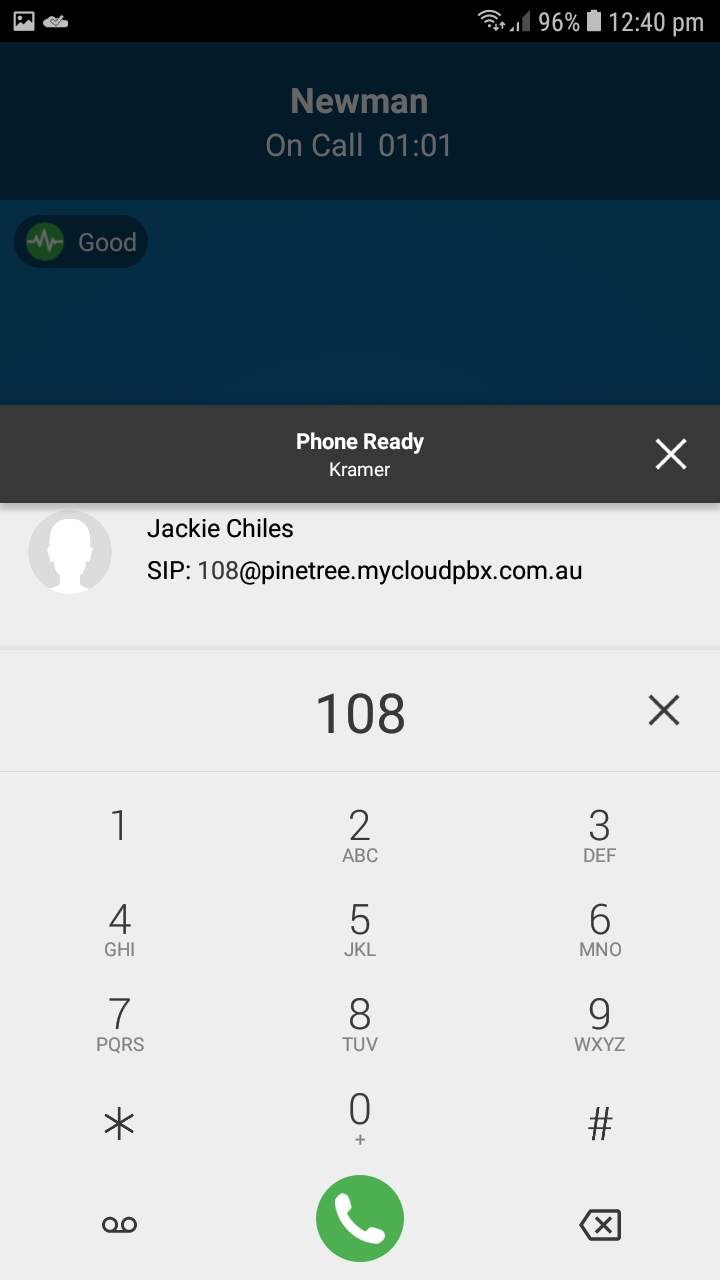
Use your address book or enter the number you wish to transfer to and press
 .
.
Announce Caller
- Once the phone is answered, you will be able to announce the caller to the callee before handing the call over.
Press
 and then press the 'Transfer To...' option as shown below.
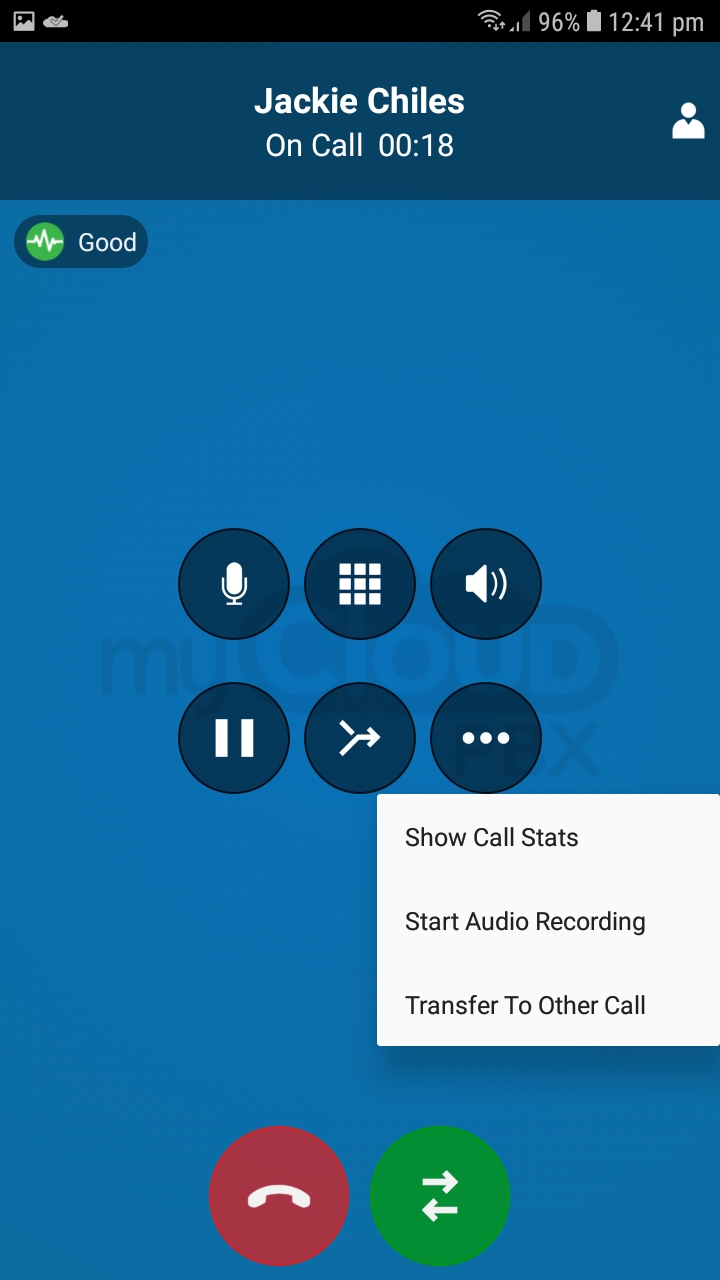
The call has now been transferred to the other person.
Conference Calls
- Initiate Conference Call
- The myCloudPBX Softphone allows you to merge two callers together into a 3-way conference call.
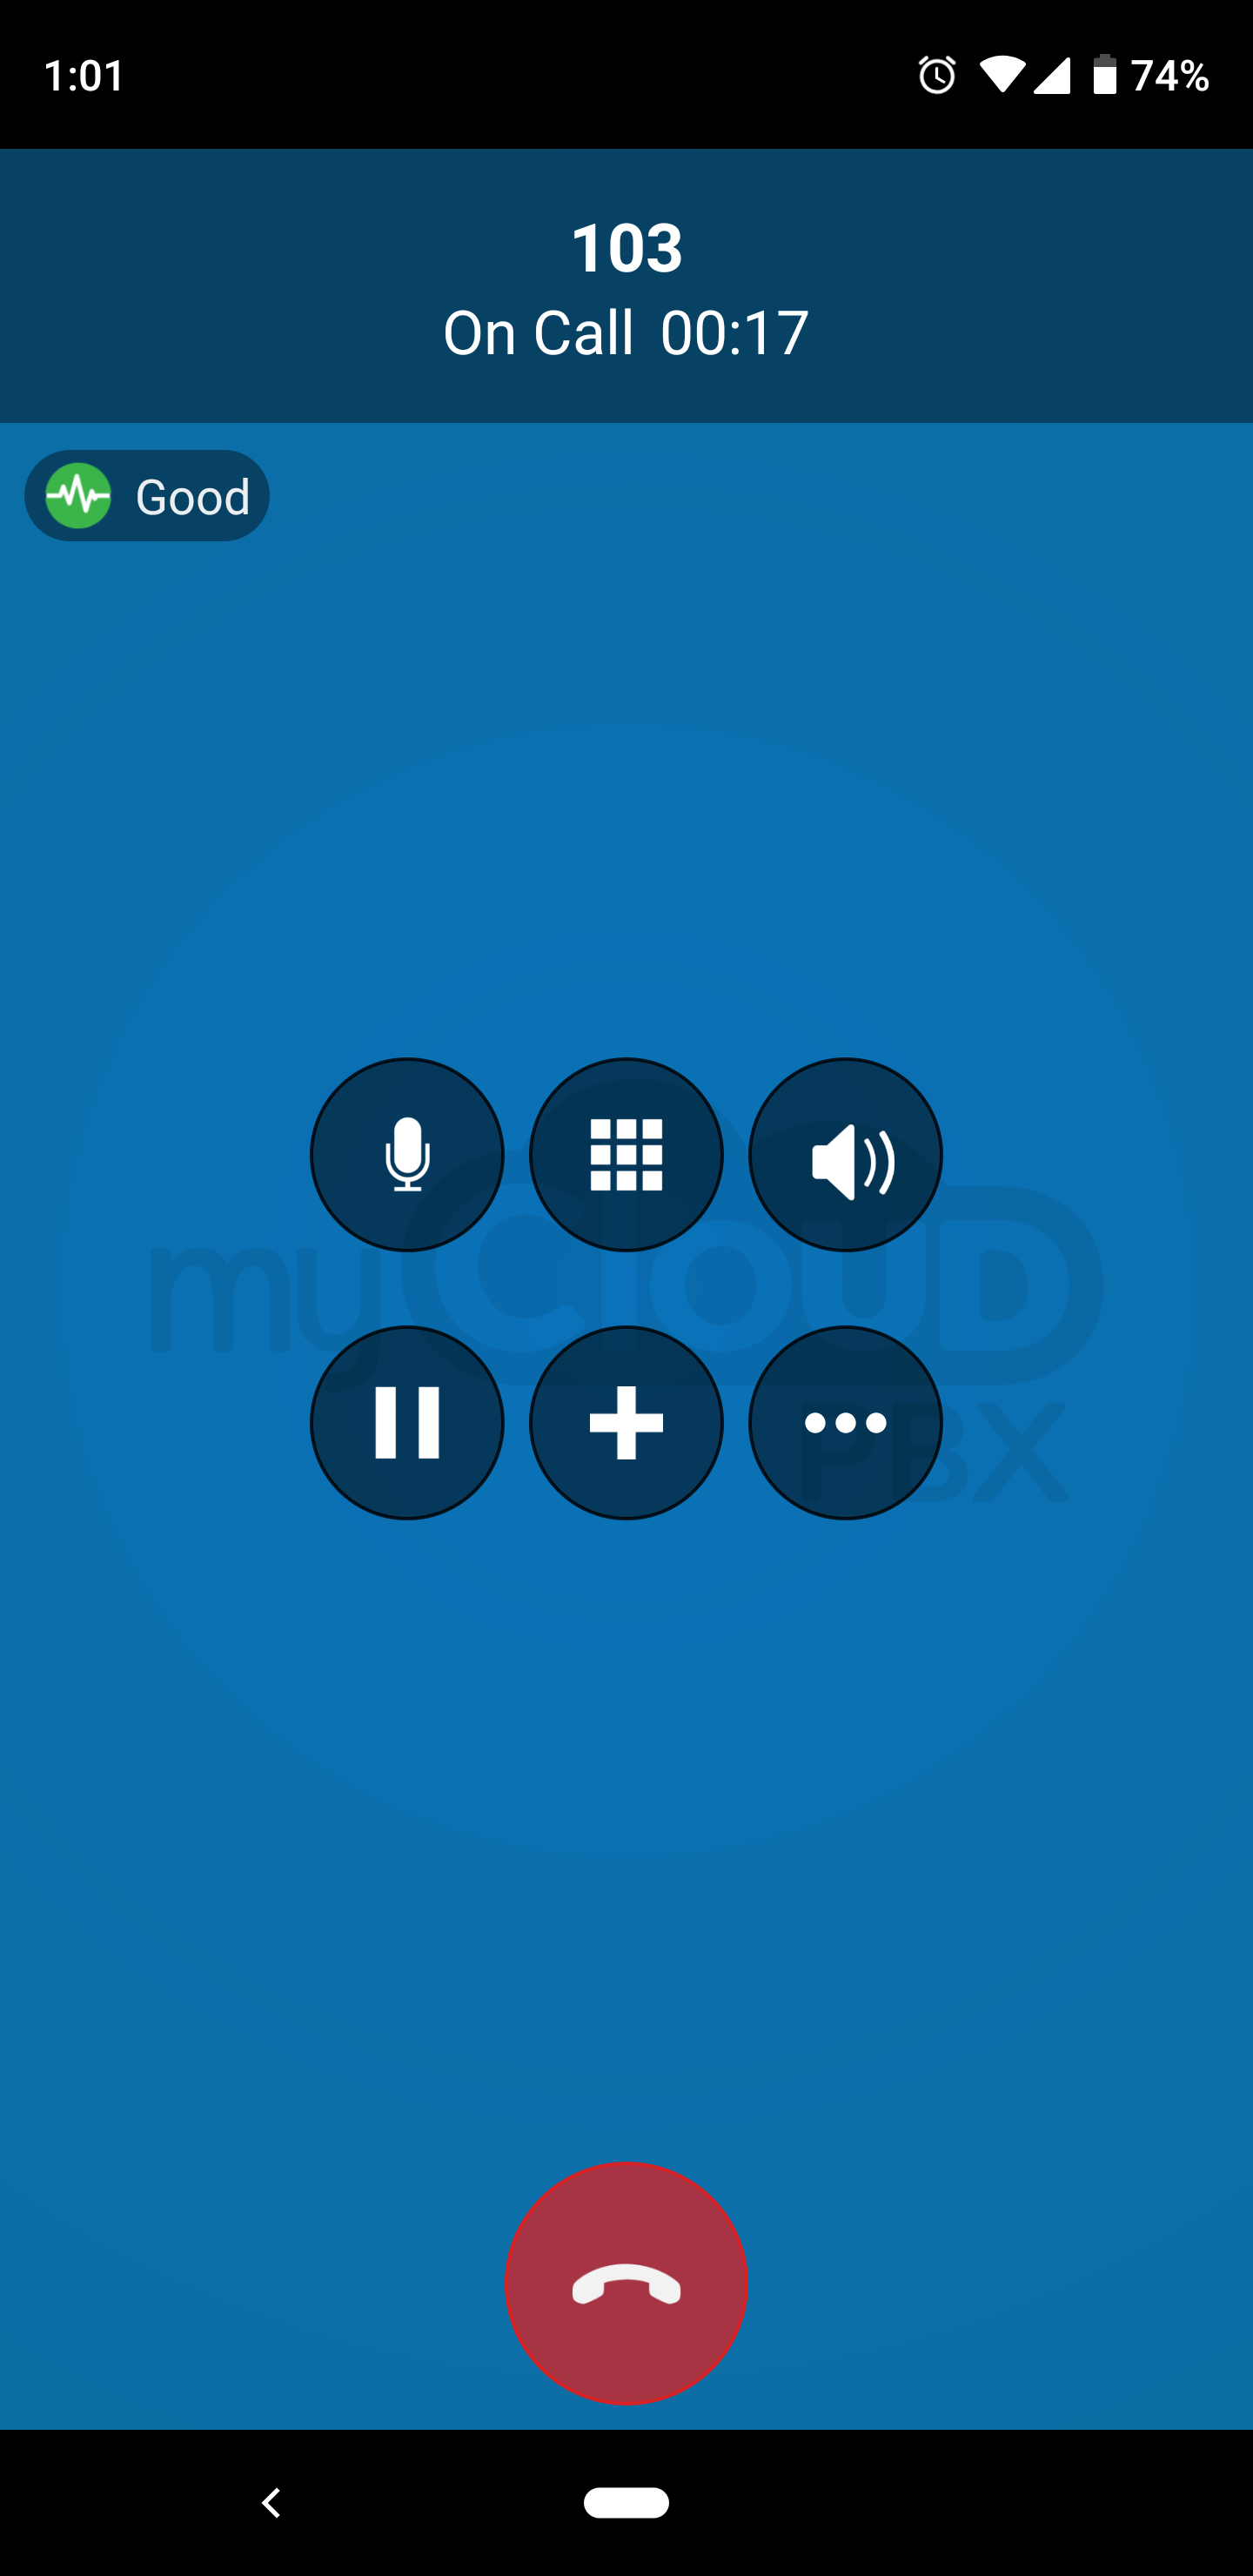
While on an active call, press
 .
.
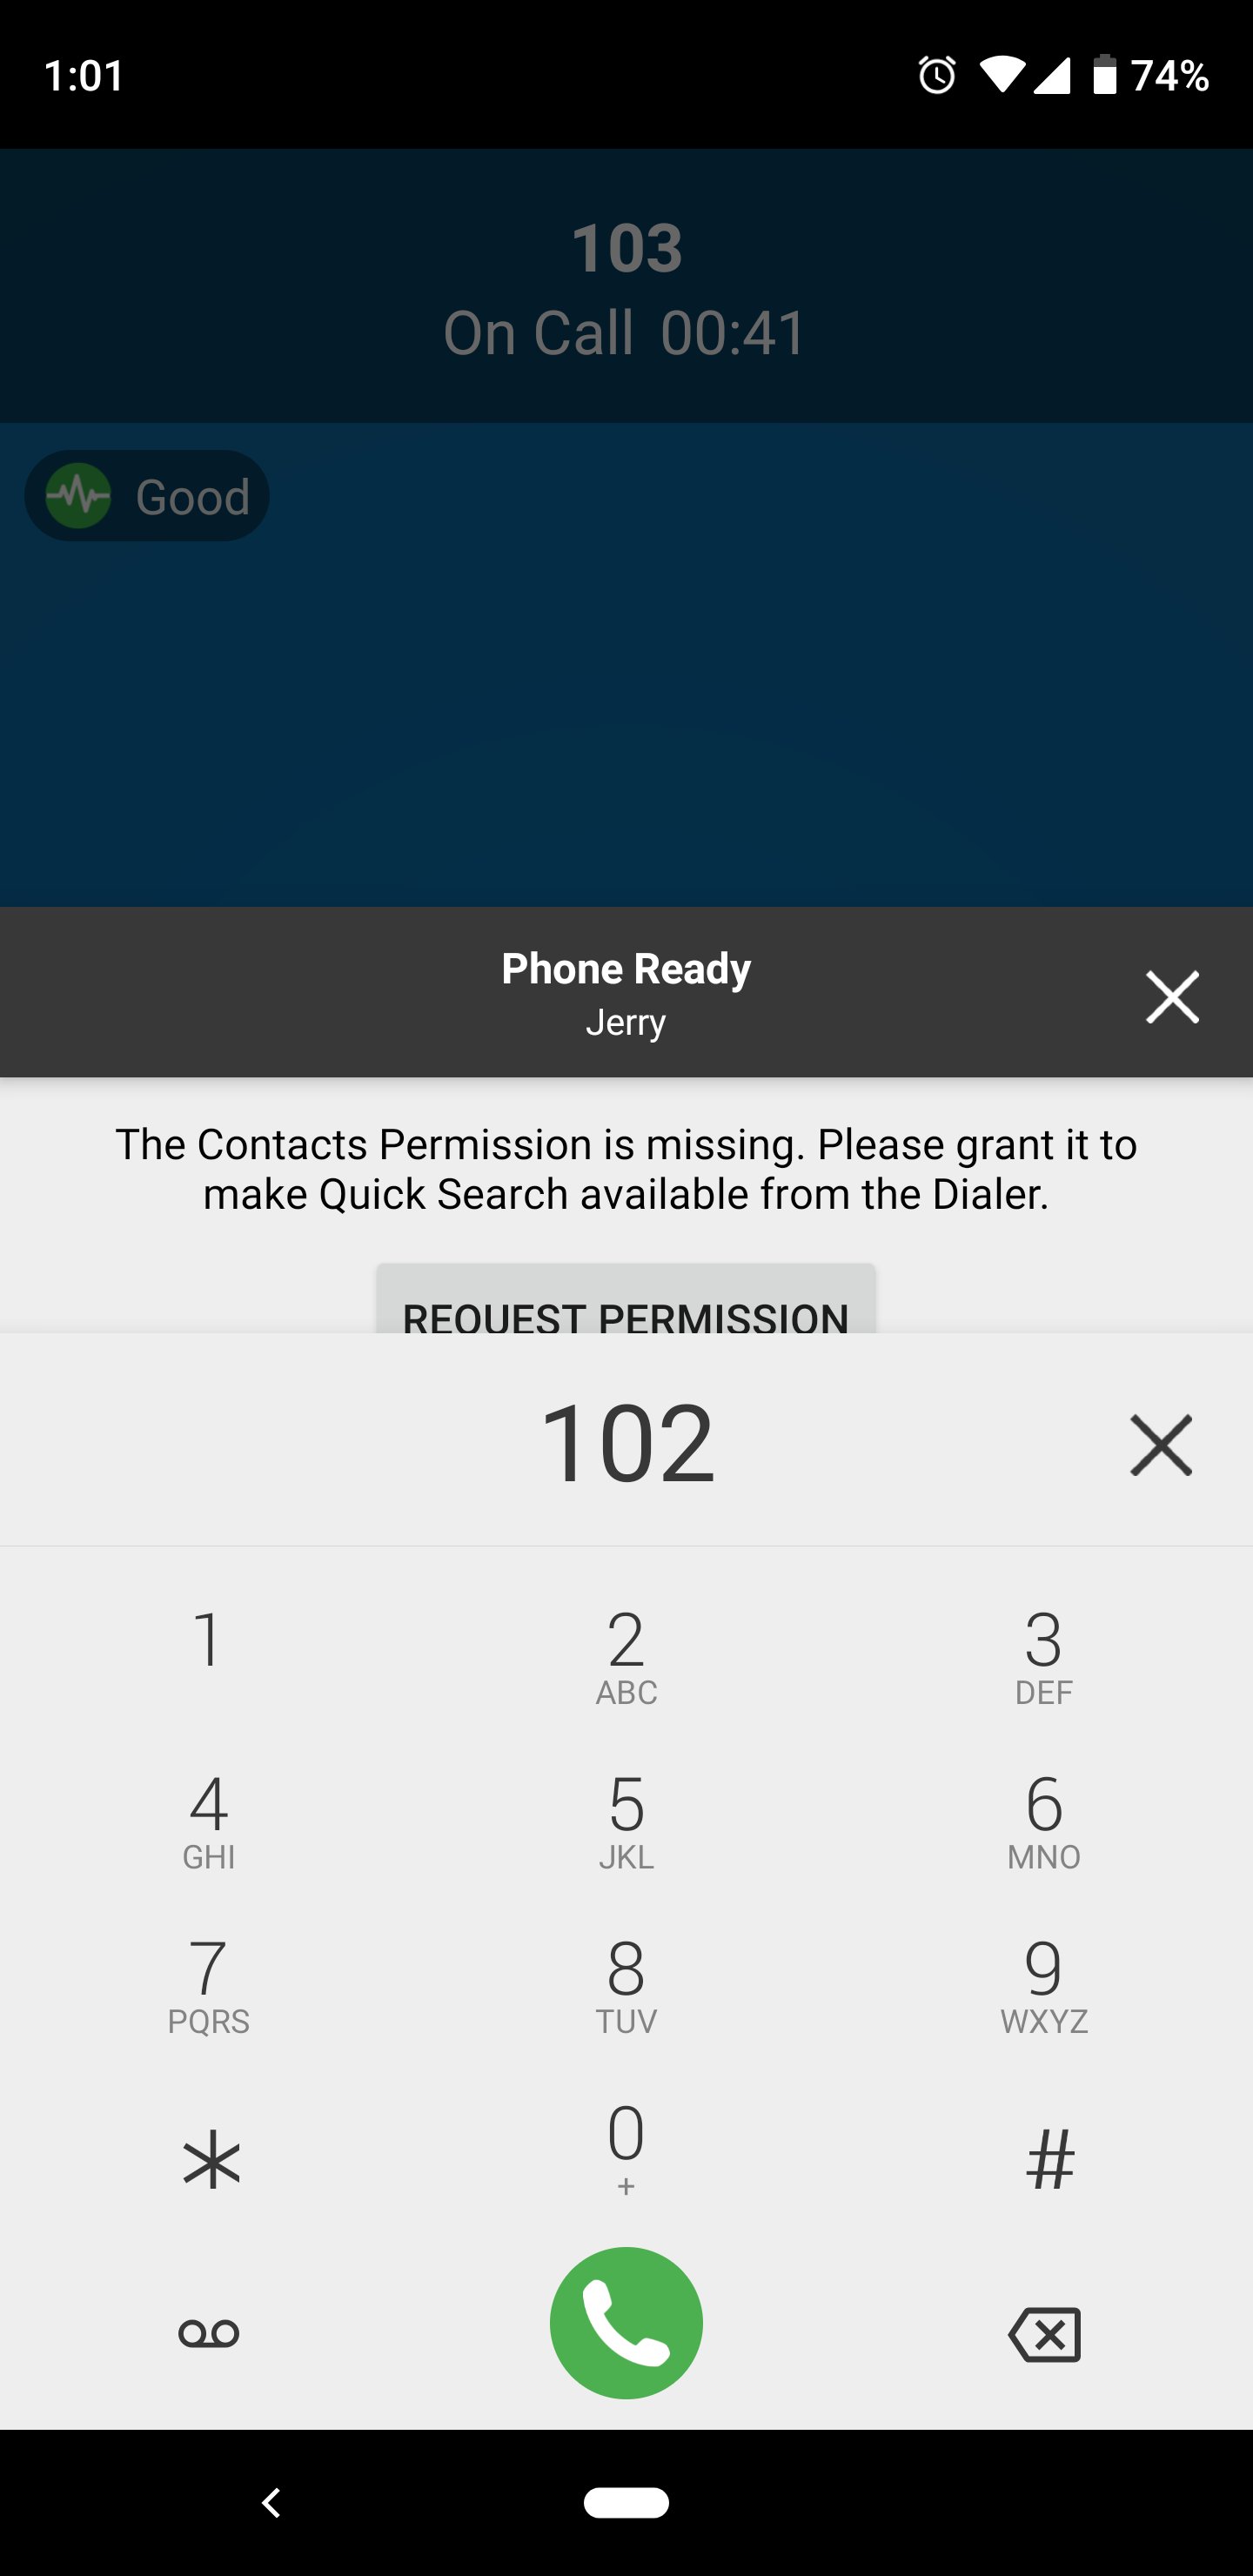
Dial Second Number
Using the touchscreen, enter the number you wish to dial and press
 .
.
Merge Calls
To merge the calls together, press
 .
.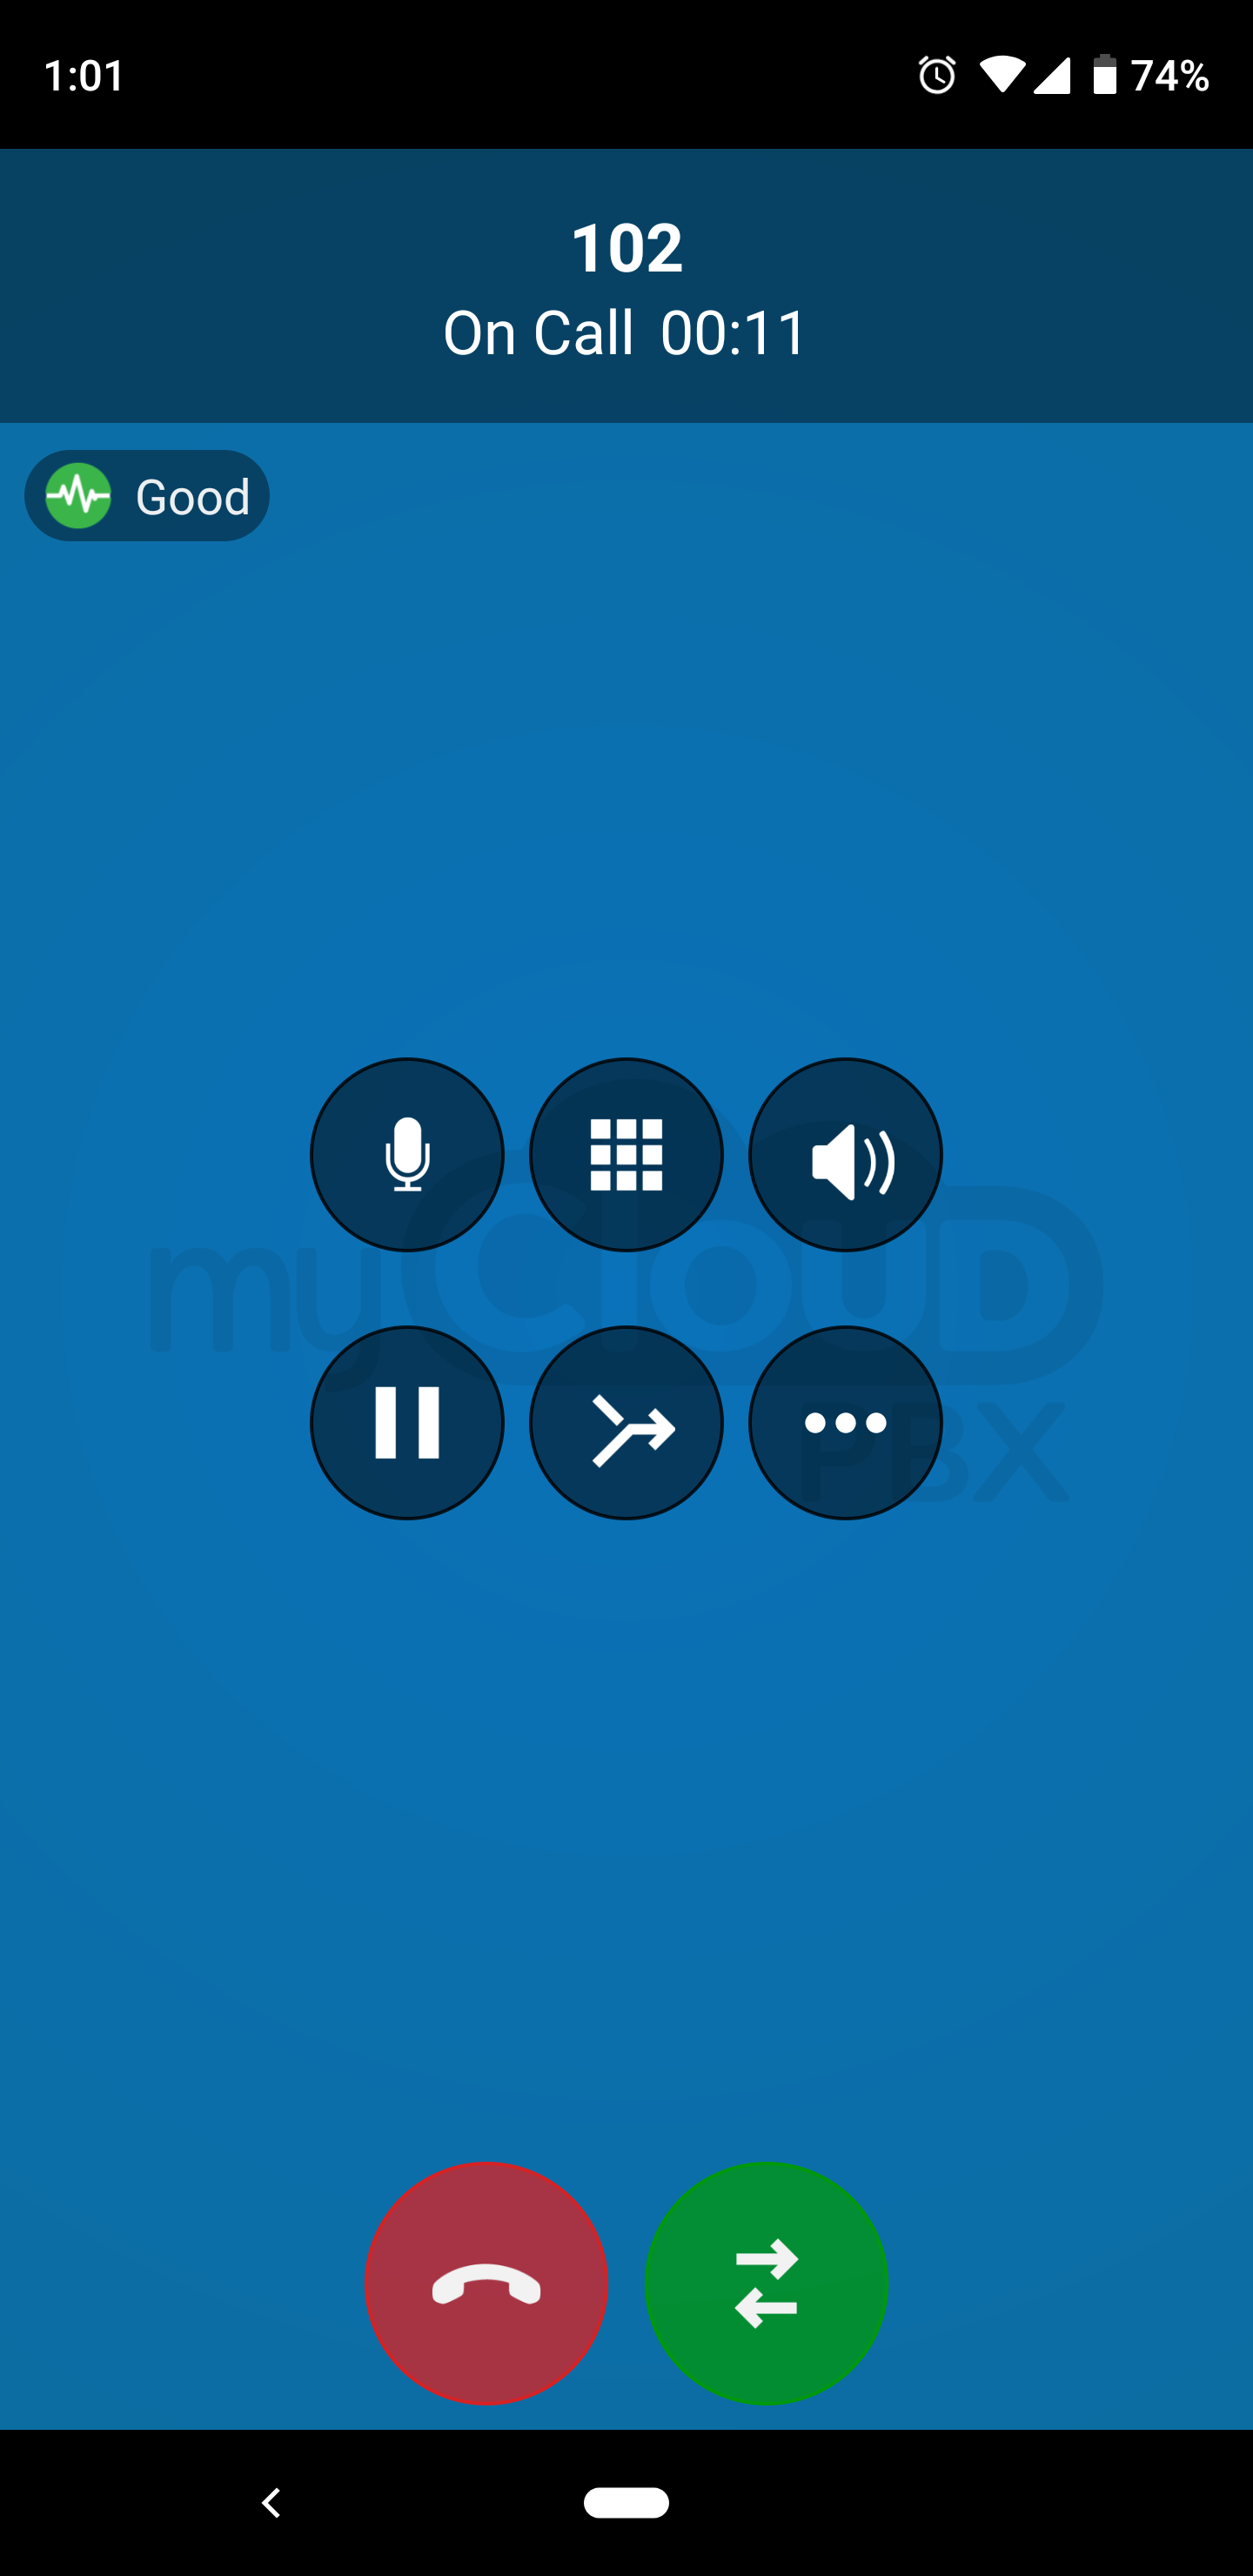
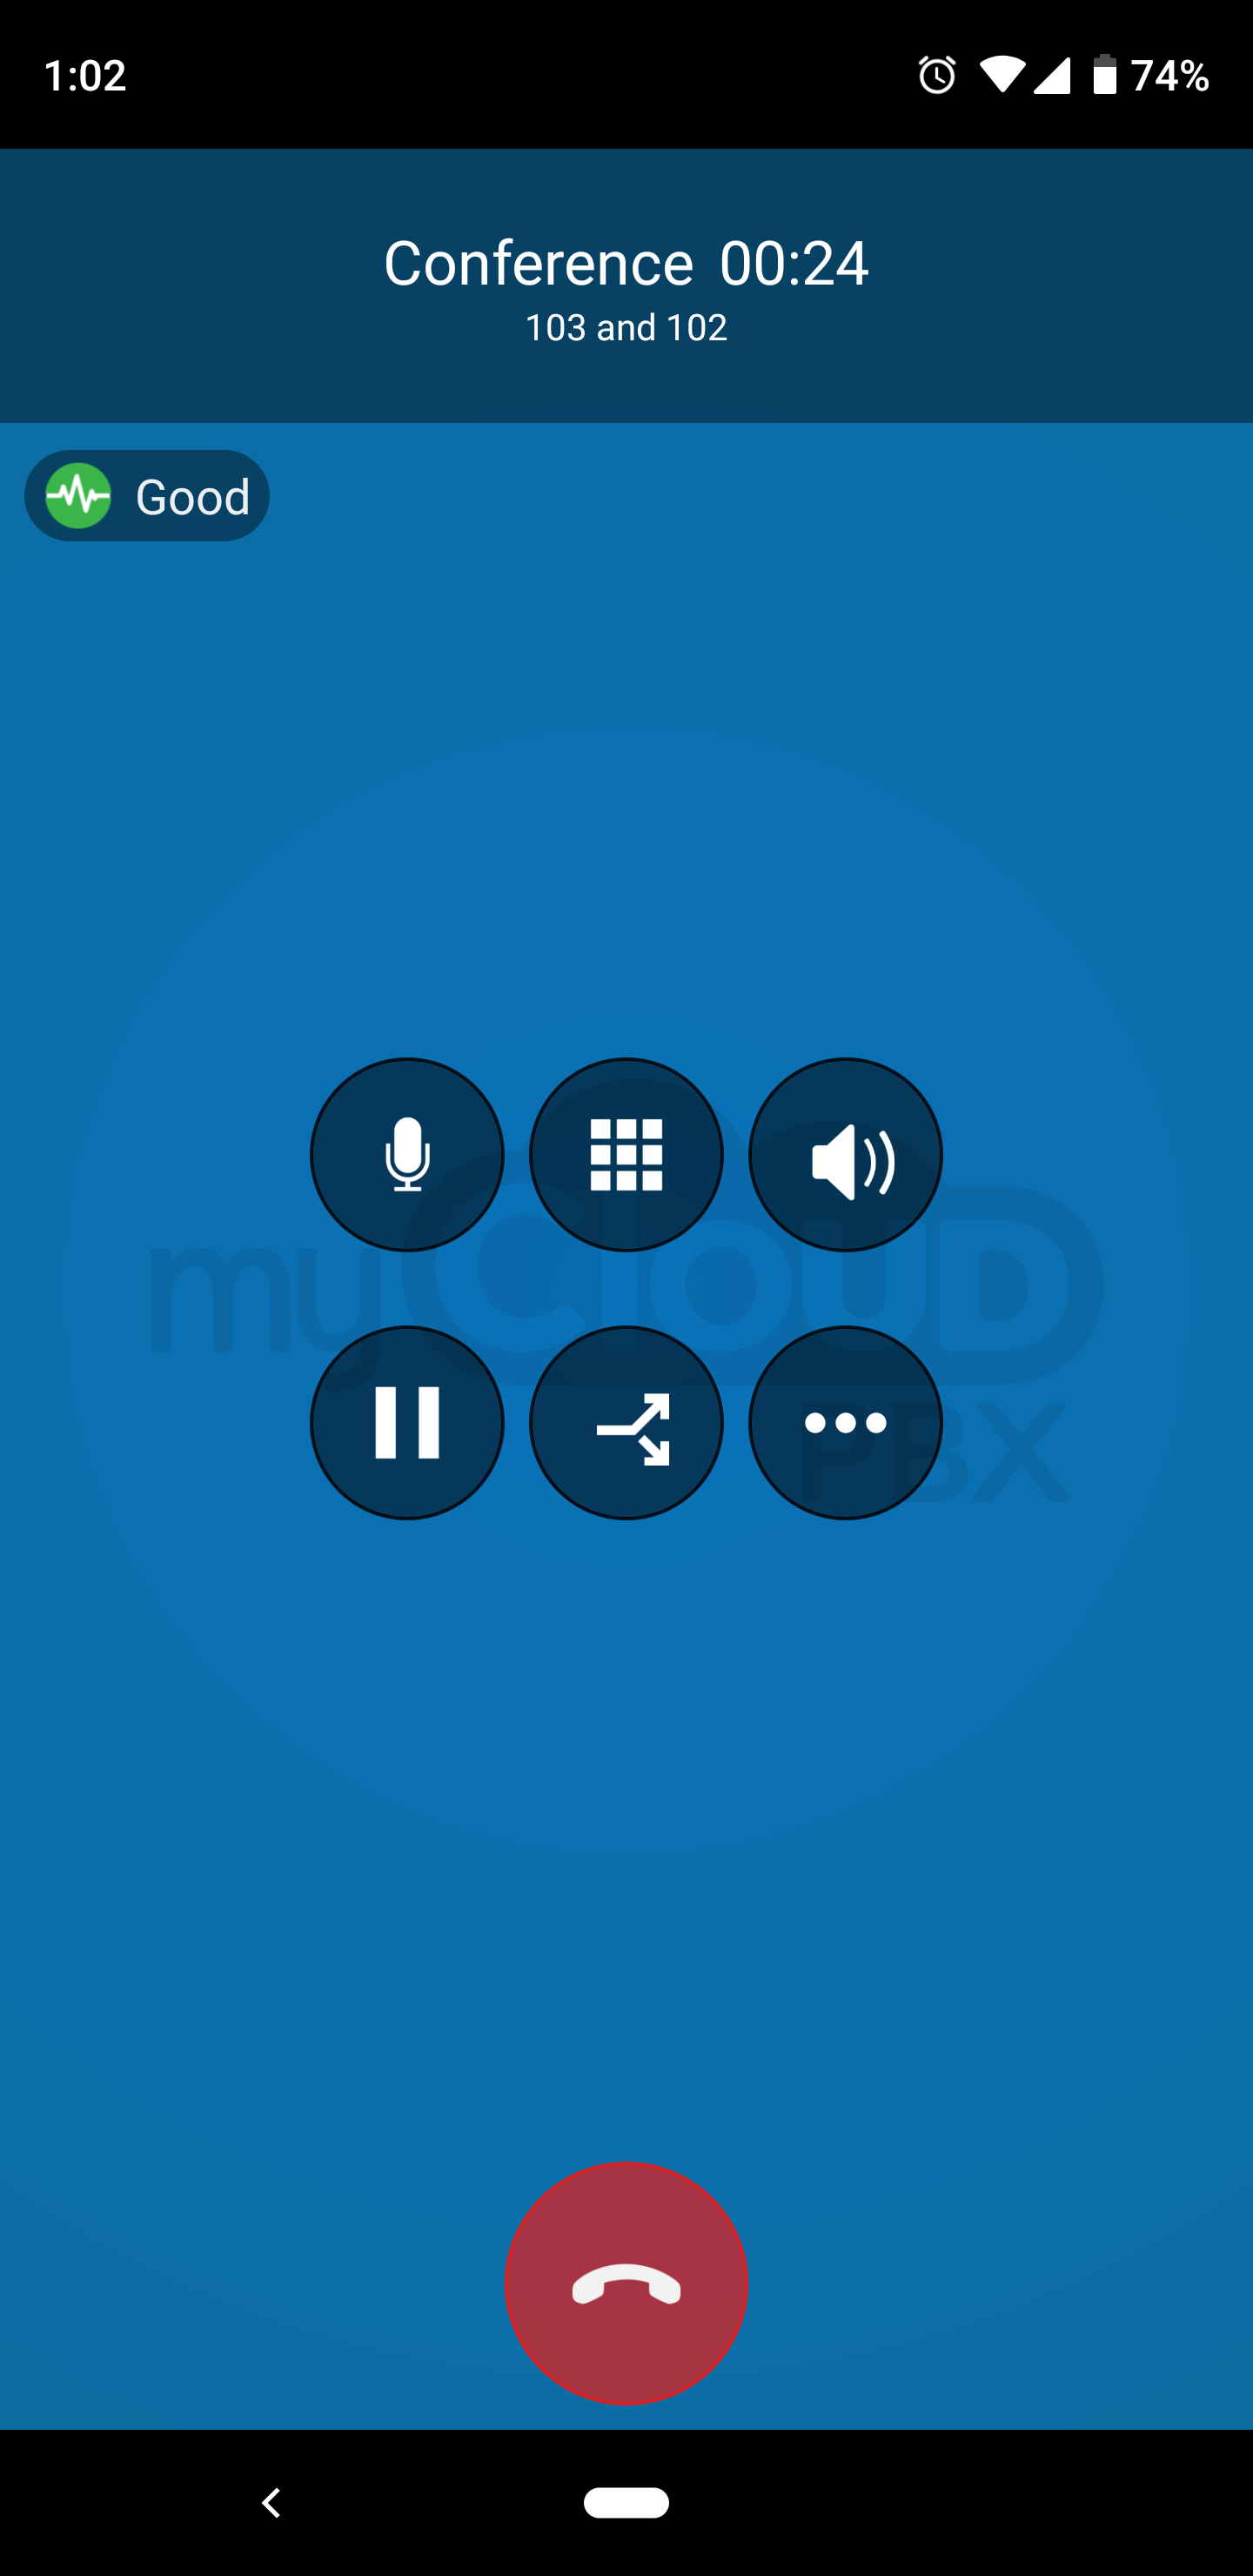
The calls are now conferenced together.
- Un-merge Calls
To un-merge the calls again, press
 .
.
Related Articles
How to Recognize and Respond to Signs Your Device Might Be Compromised
Is your device acting strangely—slowing down, displaying pop-ups, or draining battery rapidly? These could be signs that your device has been compromised by malware or unauthorized access. In this article, you’ll learn how to identify common symptoms ...Getting Started - Overview
These guides will walk you through activating the myCloudPBX Softphone for a user. Once activated, you will be able to use the following guides to install and use the Softphone on your devices. Activating / Deactivating the myCloudPBX Softphone From ...How to Set Up VPNs for Enhanced Online Security
In today's digital landscape, securing your online activities is essential. Virtual Private Networks (VPNs) provide a powerful tool to safeguard your privacy, encrypt your internet connection, and ensure secure browsing. This article will guide you ...How to Protect Your Mobile Device from Malware
Mobile devices are essential in today’s digital world, but they can also be a target for malware. Malware can steal personal information, track your online activity, or even lock you out of your device. In this guide, we’ll walk you through simple ...How to Quickly Fix Gmail Login Issues
If you're having trouble signing in to your Gmail account, you’re not alone. Login issues can occur for many reasons, including from incorrect password to browser or security settings. This guide will walk you through easy fixes as well as advanced ...